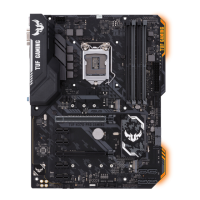
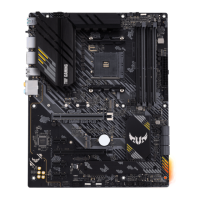
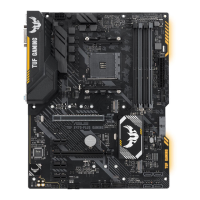
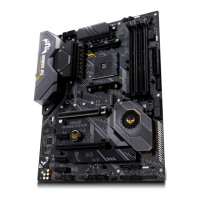
ASUS TUF H310-PLUS GAMING
1-3
Clear RTC RAM (2-pin CLRTC)
ThisheaderallowsyoutocleartheCMOSRTCRAMdataof
thesystemsetupinformationsuchasdate,time,andsystem
passwords.
To erase the RTC RAM:
1. TurnOFFthecomputerandunplugthepowercord.
2. Useametalobjectsuchasascrewdrivertoshortthe
twopins.
3. PlugthepowercordandturnONthecomputer.
4. Holddownthe<Del>keyduringthebootprocessand
enterBIOSsetuptore-enterdata.
CLRTC
+3V_BAT
GND
PIN 1
Ifthestepsabovedonothelp,removetheonboardbatteryandshortthetwopinsagain
tocleartheCMOSRTCRAMdata.AfterclearingtheCMOS,reinstallthebattery.
Intel
®
H310 Serial ATA 6.0Gb/s connectors (7-pin SATA6G_1~4)
TheseconnectorsconnecttoSerialATA6.0Gb/sharddiskdrivesviaSerialATA
6.0Gb/ssignalcables.
System panel connector (20-5 pin F_PANEL)
Thisconnectorsupportsseveralchassis-mountedfunctions.
USB 2.0 connectors (10-1 pin USB78, USB914)
ConnectaUSBmodulecabletoanyoftheseconnectors,theninstallthemodule
toaslotopeningatthebackofthesystemchassis.TheseUSBconnectorscomply
withUSB2.0specicationsandsupportsupto480Mbpsconnectionspeed.
M.2 socket 3
ThissocketallowsyoutoinstallanM.2(NGFF)SSDmodule.
M.2(SOCKET3)
• ThisM.2socketsupportsMKeyand2242/2260/2280
storagedevices.
• WhenadeviceinSATAmodeisinstalledontheM.2socket,
SATA_2portcannotbeused.
USB 3.1 Gen 1 (up to 5Gb/s) connector (20- 1pin U31G1_12)
ConnectaUSB3.1Gen1moduletothisconnectorforadditionalUSB3.1
Gen1frontorrearpanelports.ThisconnectorcomplieswithUSB3.1Gen1
specicationsandprovidesfasterdatatransferspeedsofupto5Gbps,faster
chargingtimeforUSB-chargeabledevices,optimizedpowerefciency,and
backwardcompatibilitywithUSB2.0.

 Loading...


