4-6
Chapter 4: RAID Support
Chapter 4
4.1.4 Intel
®
Virtual Raid on CPU in UEFI BIOS
This feature requires a KEY module to enable CPU RAID functions with Intel
®
CPU RSTe.
TheKEYmoduleispurchasedseparately.
TheHYPERM.2X16Cardispurchasedseparately.
DuetoCPUbehavior,CPURAIDfunctionswithIntel
®
CPU RSTe only supports Intel
®
CoreX-seriesProcessors(6-coreorabove)andIntel
®
SSD modules.
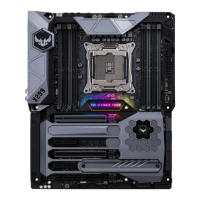
Refertosection1.1.9 Internal connectorsforthelocationoftheVROC_HW_KEY
connector.
Duetohardwaredesign,yourmotherboarddoesnotsupportCPURAIDcongurationsas
OS drives.
To enter the Intel
®
Virtual Raid on CPU in UEFI BIOS:
1. Enter the BIOS Setup during POST.
2. Go to the Boot menu > CSM (Compatibility Support Module) > Launch CSM, then
set the item to [Disabled].
3. Go to the Advanced menu > CPU Storage Configuration, then set the PCIE slot(s)
thatyouhaveinstalledtheHyperM.2X16Card(s)orPCIEX4SSDCard(s)toHyper
M.2 X16 or PCIE X4 SSD Card correspondingly.
4. Save your changes and exit the BIOS Setup, then enter the BIOS Setup again.
5. Go to the Advanced menu > Intel(R) Virtual Raid on CPU > All Intel VMD
Controllers, then press <Enter> to display the Intel
®
Virtual Raid on CPU menu.
Refer to Chapter 3 for details on entering and navigating through the BIOS Setup.
 Loading...


