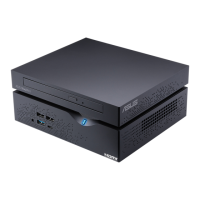
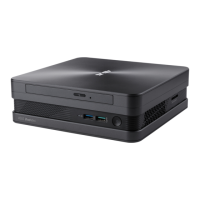
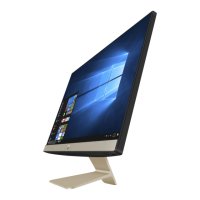
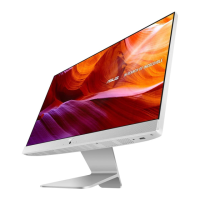
VivoPC VC60 Series
25
4. Remove the screw hole covers at the back of your VESA mount-
compatible device, if any.
5. With the arrow on the VESA mounting plate pointing upward,
align its screw holes to the screw holes of the VESA mount-
compatible device.
WARNING! Do not overtighten the screws as it may cause damage
to your VESA mount-compatible device.
6. Secure the VESA mounting plate to the VESA mount-compatible
device using the screws with the rubber heads.
 Loading...