2. Remove the rubbers in the four screw holes. (Figure 1)
3. Remove the base (Figure 2).
4. Pry the rear hinge cover (Figure 3).
5. Use a screwdriver to remove the four screws on the hinge (Figure 4), then remove the hinge.
2.4 Connecting the cables
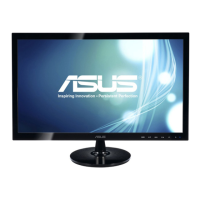
• To connect the power cord: connect one end of the power cord securely to
the monitor’s AC input, the other end to a power outlet.
• To connect the VGA/HDMI/DVI cable:
a. Plug one end of the VGA/DVI/HDMI cable to the monitor’s VGA/DVI/HDMI port.
b. Connect the other end of the VGA/DVI/HDMI cable to your computer’s VGA/DVI/HDMI port.
c. Tighten the two screws to secure the VGA/DVI connector.
• To use the earphone (only when an HDMI cable is connected): connect the end with plug type to
the monitor’s earphone jack.
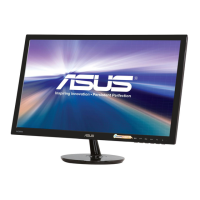
2.5 Turning on the monitor
Press the power button . See page 1-2 for the location of the power button. The
power indicator lights up in blue to show that the monitor is ON.
3.1 OSD (On-Screen Display) menu
3.1.1 How to reconfigure
1. Press the MENU button to activate the OSD menu.
2. Press and to navigate through the functions. Highlight the desired function and press
 Loading...