EN 20
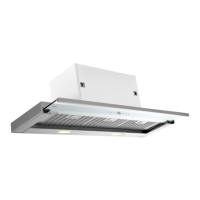
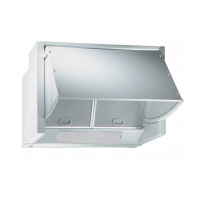
INSTALLATION
click
4
3
2
1
C
B
D
B
D
L M
1
2
M
- Tilt the hood as indicated in
Figure 12 – step 1.
- Use the two pivot pins C that are
already present in the construction to hang the
hood on the bracket B. Figure 12 - steps 2-3.
- Put the hood in position so that the safety
pin clicks in the gap in the bracket B.
Figure 12 – step 4.
- Please note! Secure the hood directly onto
the bracket B with the 6 screws D (Fig.13).
- Take the safety bracket L and secure this to
the ceiling plate with the two screws M as
indicated in Figure 14 – steps 1-2.
Fig.12
Fig.13
Fig.14
 Loading...