GB 13
INSTALLATION
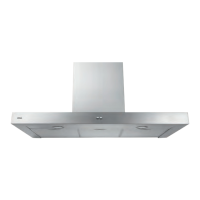
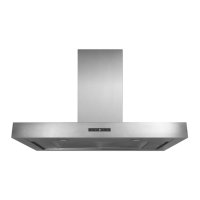
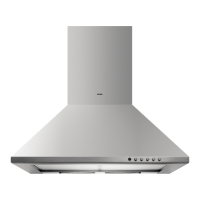
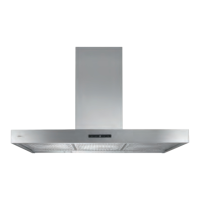
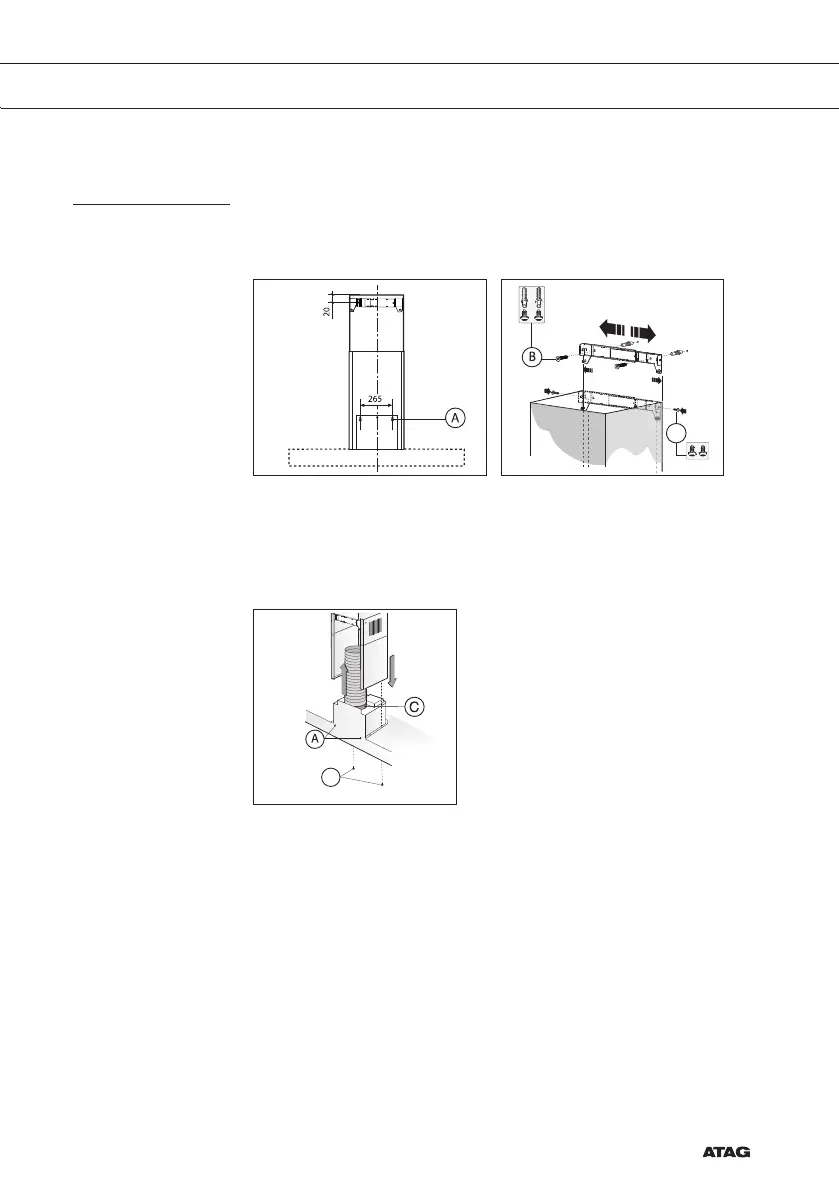
Mounting
• Mount the hood on the wall using the plugs and screws provided
bracket (A). Check size specifications.
• Adjust the width of the brackets to the width of the upper chimney.
Next, mount the bracket on the wall using the plugs and the screws
(B). Take into account the distance between the brackets bracket
and the ceiling (Check size specifications).
• Install the vent duct on the flange (C)and then onto the
connecting surface of the exhaust grid.
• Put the plug in the wall socket.
• Slide the upper chimney into the lower chimney.
• Attach the lower chimney to the hood using the screws
provided (D).
• Slide the upper chimney around the bracket and attach
with the screws provided (E).
D
E
 Loading...