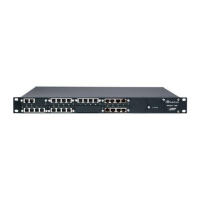
Installation & Maintenance Manual 11. Installing and Configuring the SBA
Version 6.8 79 Microsoft Lync Server
11 Installing and Configuring the SBA
Once you are logged in to the SBA Management Interface, you can start configuring SBA,
as described in this section.
The SBA configuration is done in the Setup tab. For the configuration to be successful, it is
imperative that all Setup options are performed correctly and in sequence (according to
their order of appearance in the graphical user interface / GUI):
1. Define IP Settings - See Section 11.1 on page 81.
2. Change Computer Name - See Section 11.2 on page 85.
3. Change Admin Password - See Section 11.3 on page 88.
4. Set Date and Time - See Section 11.4 on page 90.
5. Join to a Domain - See Section 11.5 on page 93.
6. Device Preparation - See Section 11.6 on page 96.
7. Cs Database Installation - See Section 11.7 on page 99.
8. Backup - See Section 11.8 on page 101.
9. Enable Replication - See Section 11.9 on page 103.
10. Activate Lync - See Section 11.10 on page 105.
11. Lync Certificate - See Section 11.11 on page 107.
12. Start Lync Services - See Section 11.12 on page 113.
13. Configure Gateway and Test Calls - See Section 11.13 on page 115.
14. Test Lync Calls - See Section 11.14 on page 118.
15. Apply Security - See Section 11.15 on page 121.
16. (Optional) Remote Control - See Section 11.16 on page 129.
17. (Optional) SNMP - See Section
11.17 on p
age 131.
18. Complete SBA Setup - See Section 11.18 on page 136.
If a task fails, ensure you correct it before performing additional tasks. When a task is
configured successfully, a check mark (green) appears alongside the option.
Note: Initially, the Setup menu displays only the first few options (until you Join to a
Domain). The remaining options appear only after you successfully Join to the Active
Directory Domain.
 Loading...