NOTE:
After replacing the battery and assembling the housing, we recommend
pressing the button twice in order to stabilize the relay operation.
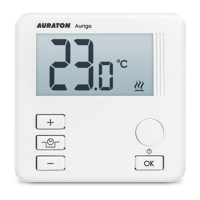
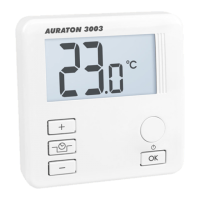
Mounting AURATON Auriga - a daily, wired
temperature controller
To fix the AURATON Auriga controller to the wall:
1
. Remove the cover (as shown in the section "Connecting the cables to the AURAT
ON
Auriga").
2
. Drill two holes 6 mm in diameter in the wall (mark the spacing between the holes
using the back part of the controller housing).
3
. Put the wall plugs in the drilled holes.
4
. Screw the rear part of the controller housing to the wall using the screws included in
the kit.
5
. Put the regulator housing back on.
NOTE:
In the case of a wooden wall, there is no need to use expansion bolts. It is
enough to drill holes with a diameter of 2.7 mm (instead of 6 mm) and screw
the screws directly into the wood.