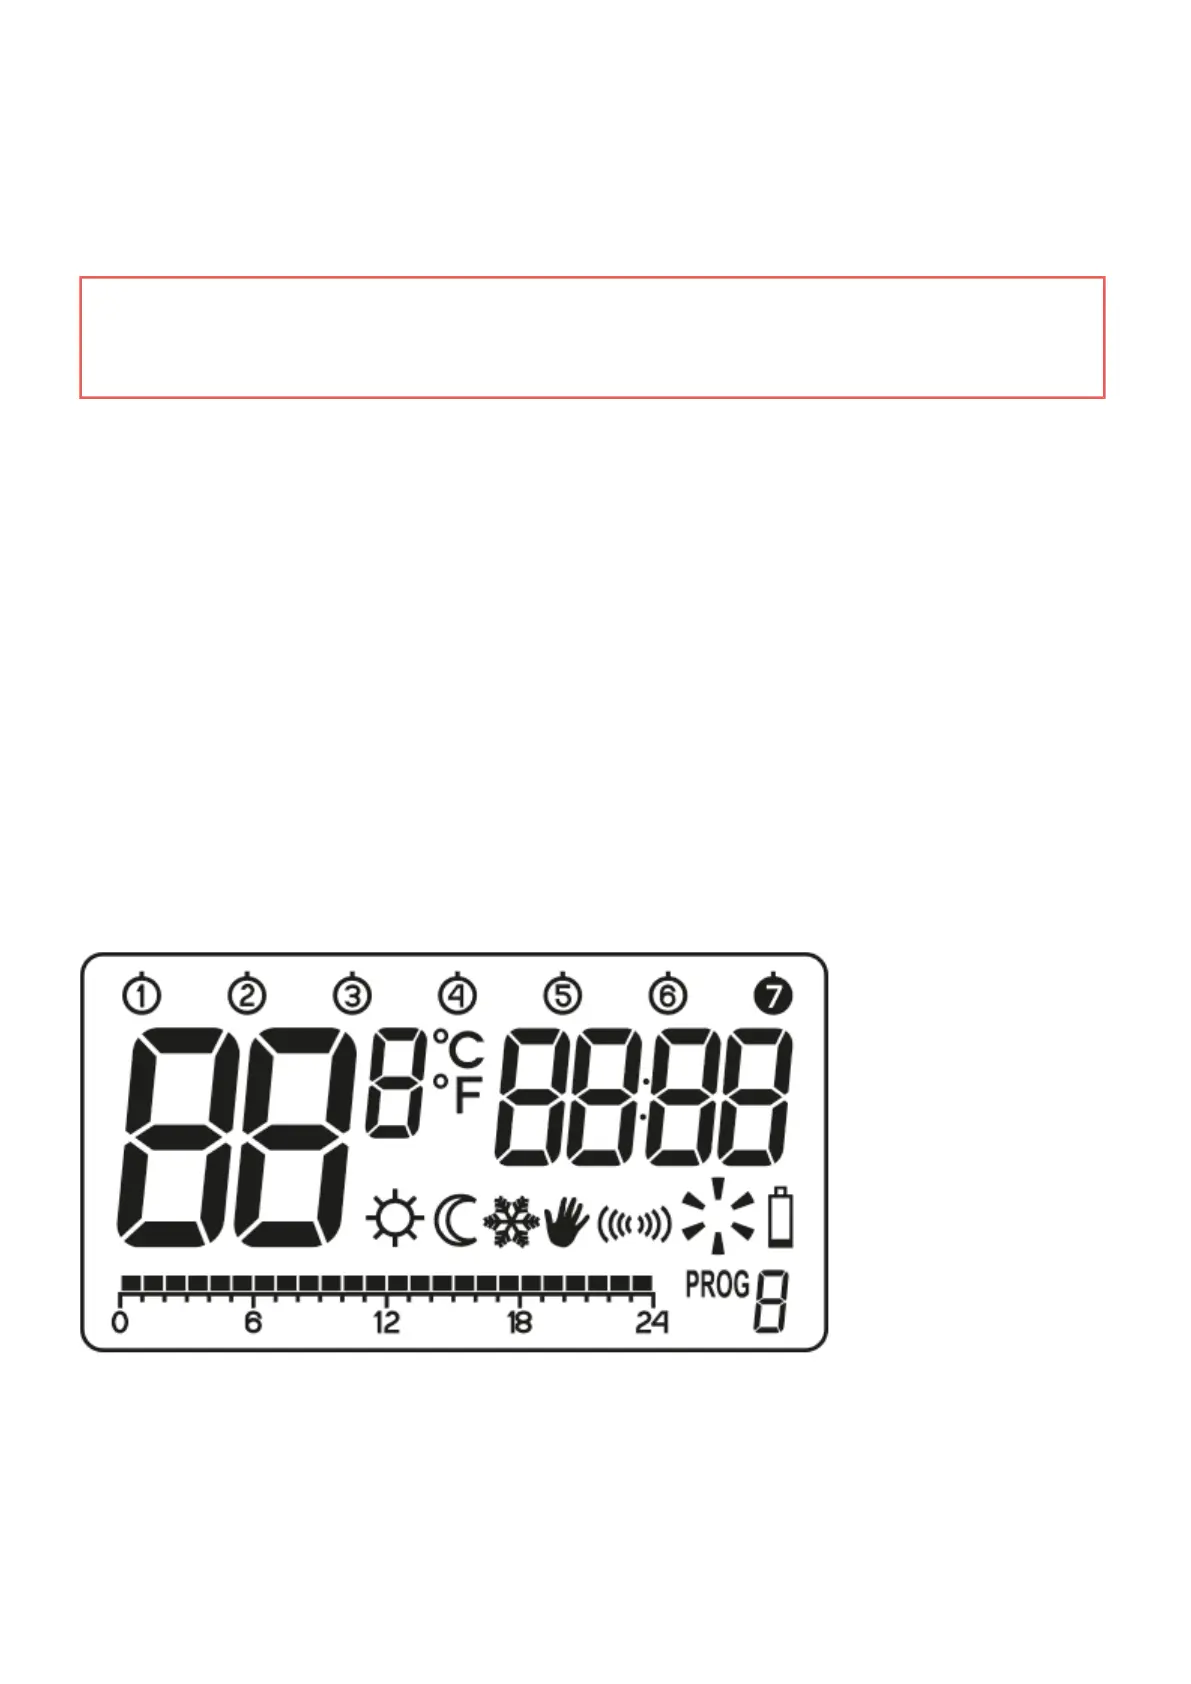
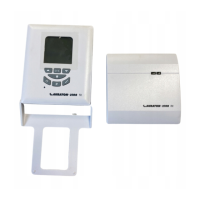
Front casing1.
Rear casing2.
Pins3.
The socket of the pin connector or the place where the pins contact the board4.
IMPORTANT:
Make sure that the “pins” are not bent and that they are placed in the correct spots on the relay
board when assembling the casing. This is crucial for the proper operation of AURATON Libra.
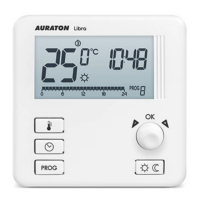
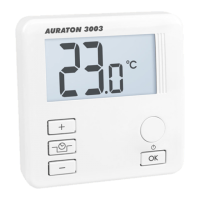
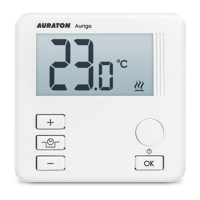
Turning AURATON Libra on for the first time
After inserting the batteries correctly into the battery compartment, the LCD screen will display all the
segments for a second and then the software version number.
After a while, AURATON Libra will automatically switch to the time setting mode. A flashing item on the