Insert two 1.5V AAA batteries into the battery compartment, paying attention to the correct polarity of
the batteries.
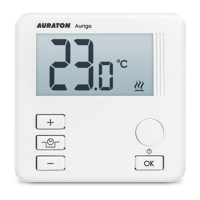
IMPORTANT:
After replacing the battery and assembling the cover, we recommend pressing the OK button twice
to stabilise the relay operation.
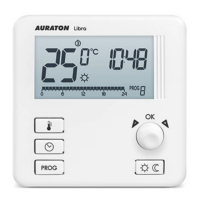
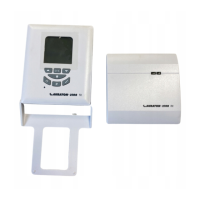
Mounting AURATON Libra – the weekly, wired temperature regulator
In order to mount AURATON Libra on the wall:
Remove the casing (as shown in the “Battery Replacement” section)1.
Drill two holes with a diameter of 6 mm in the wall (mark the spacing between the holes using2.
the rear part of the AURATON Libra casing).
Put wall plugs in the drilled holes.3.
Fix the rear part of the casing of AURATON Libra to the wall using the screws included in the kit.4.
Put the casing on.5.
IMPORTANT:
In the case of a wooden wall, there is no need to use wall plugs. It is enough to drill holes with a
diameter of 2.7 mm (instead of 6 mm) and screw the screws directly into the wood.