• operate hold, three-way calling, call transfer, and call park
• use other features such as speed dial, call forward, do not disturb, and setting up conference
calls
• use the Multi line appearance/Bridged line appearance feature
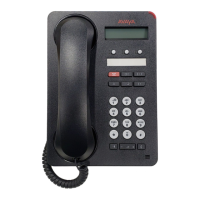
For more information about using the IP Deskphones, see Avaya 1220 IP Deskphone with SIP
Software User Guide, NN43170-101, Avaya 1230 IP Deskphone with SIP Software User Guide ,
NN43170-102 .
The Avaya 1200 Series IP Deskphones Getting Started Card included in the box with the IP
Deskphone explains how to do the following:
• connect the AC power adapter
• control the volume when answering a call
• make a call using the handset
• make a call with the headset or using handsfree
• use hold and mute
• set the contrast
• set the language
Installation overview
To install the IP Deskphone with SIP Software, three basic steps are required.
1. Configure the provisioning server and, optionally, the DHCP server. The function of the
provisioning server is to provide configuration options to every IP Deskphone throughout the
network. The DHCP server can be configured to provide basic network-configuration data or
a more comprehensive set of network-configuration data for the IP Deskphone with SIP
Software.
2. Load SIP Software on the IP Deskphone.
3. Configure the initial network-configuration parameters on the IP Deskphone with SIP
Software.
Installation overview
March 2015 SIP Software for Avaya 1200 Series IP Deskphones-Administration 39
Comments? infodev@avaya.com

 Loading...