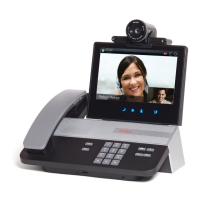
To add the optional Avaya B109 device as microphone/speaker for the Avaya CU360, please
follow below steps and simitar steps for other speakerphones or headsets.
On Avaya CU360:
- Enable Advanced Settings
[GUI] >CONFIGURE>GENERAL>SHOW ADVANCED SETTINGS: YES
- Browse to
[GUI] >CONFIGURE>ADVANCED (DEFAULT PIN IS 1234) >SYSTEM>SECURITY>SETTINGS>BLUETOOTH
- Turn on the Bluetooth service in the Android settings page.
On Avaya B109:
- Hold down for two seconds on the Avaya B109. The icon is displayed on your
B109 and its LEDs blink with blue light.
- This makes the B109 visible to CU360, in the Bluetooth page under the list of the available
devices. If you don’t see it, disable Bluetooth on this settings page and enable it again.
- Select the Avaya B109 from the list of available Bluetooth devices to pair the CU360 with
it. It may take a while for the devices to connect one to another.
o After 60 seconds in pairing mode (flashing blue lights), the B109 returns to normal
mode if pairing has not been established.
o Once devices are paired, they automatically reconnect to one another**. The
LEDS are fixed with blue lights on the B109.
• Important
• You cannot use B109 connected in Bluetooth if it is placed at a distance higher than 7-8
meters from the CU360 device. In this case the B109 could not be able to transmit your
voice.

 Loading...


