IP500/IP500 V2 Installation Page 179
15-601042 Issue 25i (03 January 2013)IP Office 8.0
IP500 Basic Installation: IP500 Unpacking
8.4 IP500 Card Installation
The IP500 base cards and trunk daughter cards should be fitted before power
is applied to the control unit.
1.
Fitting IP500 Trunk Daughter Cards to the Base Cards.
2.
Fitting IP400 Legacy Cards to a Legacy Card Carrier.
3.
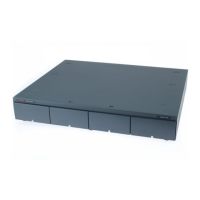
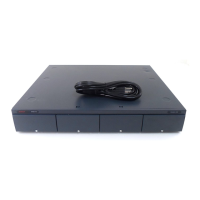
Installing IP500 Cards into the Control Unit.
· Warnings
· Correct anti-static protection steps should be taken before handling circuit boards.
· Cards must never be added or removed from the control unit while it has power connected.
· General Notes
· Cards can be fitted in any order into any available slots. The only exception is the IP500 4-Port Expansion card
which can only be installed in right hand slot 4.
· For phone based administration, the card in slot 1 must be able to support ETR 18D, ETR 34D, M7324, M7310,
T7316E, T7316, 1408 or 1416 phones. Phone based administration is not supported in IP Office Essential
Edition.
· It is recommended that cards are fitted from left to right.
· There are restrictions to the number of supported cards of some types. When such a limit is exceed, the right-
most card of that type will not function.
· Ensure that you use the labels supplied to identify the card fitted into the control unit.
180
181
182
 Loading...

