Replacing the S8500C server
03-300529 Issue 4 January 2008 69
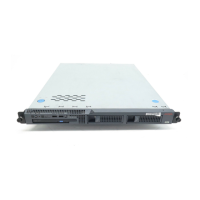
Figure 16: S8500C rear panel
Preparing the failed S8500C server for shipment
If you have re-used the original hard drive from the failed S8500C server, you must install the
new hard drive that shipped with the replacement S8500C server in the failed server before
returning the failed server to Avaya.
The following steps prepare the failed S8500C server for return shipment to Avaya:
1. Position the hard drive on the drive tray and secure with the four screws.
2. Slide the hard drive into the server (see Figure 13: Removing/replacing the hard drive
(S8500C) on page 62).
3. Slide the server cover until the cover’s tabs are seated in the top slot on the front panel and
the release button latches securely (see Figure 12: Cover release button on the S8500C
server on page 61 if necessary).
4. Return the failed S8500C server to Avaya.
Figure notes:
1. Power cord connector 10. Mouse connector
2. SAMP power 11. USB port
3. USB connection (to USB modem) 12. USB port
4. Ethernet (not used) 13. Ethernet 1
5. SAMP services port 14. Ethernet 2
6. SAMP card 15. Video connector
7. Dual NIC 16. Serial connector
8. Ethernet 4 17. Keyboard connector
9. Ethernet 3
h2msb8cc LAO 031706
2
1
Slot 1
Slot 2
7
1
2
3
4
5
6
8
9
10
11
12
13
14 16
1715

 Loading...