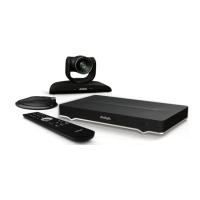
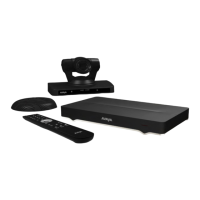
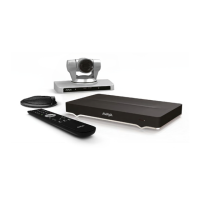
Chapter 2: Initial Workflow for Deploying
the Avaya Room System XT
Series
About this task
To safely set up and perform the required initial settings to start using the Avaya Room System XT
Series, follow the recommended workflow described below.
Procedure
1. Decide how to incorporate the XT Series into your deployment, as described in Planning the
Topology of the Avaya Room System XT Series Deployment on page 32.
For example, decide whether to enable license options such as a built-in MCU, where to
deploy the XT Series, and the ports to open.
2. Read the safety information booklet. Check the XT Series to verify that no shipping damage
occurred, as described in
Checking the Product Shipment on page 25.
3. Decide where to place your XT Series, depending on the room setup (see Planning the
Optimal Room Setup on page 52).
4. To quickly connect your XT Series, refer to the Quick Setup Guide for Avaya Room System
XT Series. For more detailed information, see Setting Up the XT Series Hardware on
page 52, which includes:
• Connect the XT Series to the network.
• Connect monitors if it is used as an endpoint (the Avaya XTE240 has a built-in monitor).
• Connect microphones and loudspeakers if it is used as an endpoint (the Avaya XTE240
uses a built-in microphone and monitor speakers).
• Connect cameras if used as an endpoint (the Avaya XTE240 uses a built-in camera).
5. After you have set up the hardware, you need to set up and configure the software and its
parameters. To help you do this, there are three options available. This step is fundamental
to the installation and configuration of the XT Series.
August 2020 Deployment Guide for Avaya XT Series 28
Comments on this document? infodev@avaya.com

 Loading...


