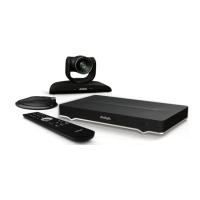
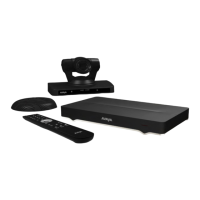
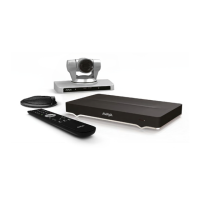
Chapter 2: Setting up Avaya XT
Getting Started
Important:
You can access the Avaya XT Series using a browser (Web UI) or the end point main menu
(Graphical User Interface, GUI). Not all figures in this manual show both interfaces. Some
figures show either the web UI or the end point main menu. The field and menu names on
both interfaces are almost identical.
To get started with video calls and videoconferences, activate the product and use the quick setup
wizard to configure the basic settings of the unit. We recommend following the workflow described
in Initial Workflow for Avaya XT Series Users on page 20.
Initial Workflow for Avaya XT Series Users
About this task
To quickly get started with your Avaya XT Series, follow the steps in this workflow.
Before you begin
Your system administrator should install and activate your Avaya XT Series. For details, see the
following documentation:
• Quick Setup Guide for Avaya XT Series: Explains the simplest configuration necessary for
the system to work properly.
• Safety Instructions leaflet for Avaya XT Series
• Deployment Guide for Avaya XT Series
Your system administrator may have customized certain features described in this guide to suit the
environment of your company.
Procedure
1.
Turn on the XT Codec Unit by pressing the
Power key on the XT Remote Control Unit.
2. (Avaya XTE240 only) Connect your computer to use the Avaya XT Series as your monitor.
For more information, see
Connecting a Computer to the Avaya XT Series using the DVI
port on page 77.
March 2021 User Guide for Avaya XT Series 20
Comments on this document? infodev@avaya.com

 Loading...


