Do you have a question about the Avery Weigh-Tronix PC-805 and is the answer not in the manual?
Details the weight capacities and corresponding measurement resolutions of the scale.
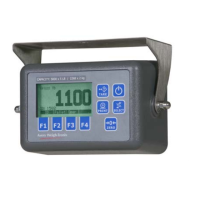
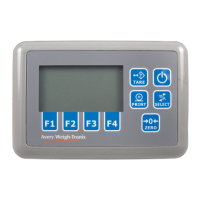
Explains how to enter different operational modes of the scale.
Explains how to use SW1 switch settings to access different operational modes like Normal, Menu, and External Display.
Describes how holding the PRINT key accesses Calibration, Diagnostics, and Configuration menus.
Details the steps to enter the Scale menu using SW1 or the PRINT key.
Shows the calibration options, including O RANGE, 0 START, AZT RNG, OVR CAP, STABLE, RESO.
Illustrates the steps for scale calibration, including selecting capacity, loading weights, and confirming completion.
Displays the configuration options like FILTER, UPDATE, DEFAULT, LFILT, and DONE.
Lists available test weights for calibration, including pounds or grams.
Details the step to load zero weight and ensure the scale registers it correctly.
Instructs on placing the specified calibration weight and confirming with the ZERO key.
Indicates that the scale displays 'bUSY' then 'donE' upon successful calibration.
Allows selection of desired scale resolution from a list of values (5k to 500k).
Explains the restart function for reinitializing the scale.
Describes the process and need for recalibration after restarting the scale.
Instructions on how to enter the diagnostic menu using SW1 or the PRINT key.
Tests and displays current battery voltage, including low battery indicators.
Displays raw frequency from the compression crystal for stability checks.
Displays raw frequency from the tension crystal for stability checks.
Displays raw digital counts from the Quartzell transducer.
Tests individual front panel keys for proper function.
Indicates an EEPROM error; acknowledge with TARE key.
Signals a calibration error; requires recalibration procedure.
Appears when battery voltage drops to 11.5V; scale shuts off at 10V.
Details pin assignments for the scale's 9-pin serial port (TXD, RXD, SG).
Explains the RS-232 master/slave protocol for computer communication.
Lists commands sent to the scale and their descriptions (e.g., CA, CC, CP).
Lists responses from the scale and their descriptions (e.g., cc_xxxxx, cp_x.xxxxxxuu).
Warns about torque force, potential sensor damage, and proper tool usage.
Steps to disconnect power and remove the scale shroud.
Instructions for removing screws securing the top plate and the spacer.
Steps to disconnect the display cable and remove the electronics cover.
Details removing the weight sensor interface cable and the PC board.
Illustrates the exploded view of the 10lb/5kg scale components.
Lists all parts and their corresponding part numbers for the 10lb/5kg scale.
Illustrates the exploded view of the 50lb/25kg and 100lb/50kg scale components.
Lists parts and part numbers for the 50lb/25kg and 100lb/50kg scales.
Shows the wiring connection from the Quartzell transducer to the main interconnect board.
Shows the component side of the main interconnect PC board with jumpers and connectors.
Provides step-by-step instructions for installing the optional 12V battery kit.
| Interface | RS-232 |
|---|---|
| Tare Function | Yes |
| Auto Power Off | Yes |
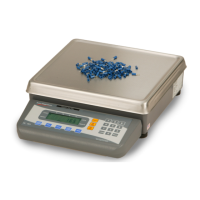
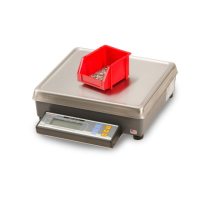
| Platform Size | 6.5 x 6.5 inches |
| Power | AC Adapter and Battery |
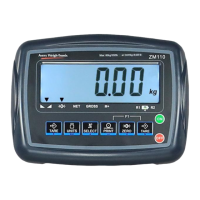
| Display | LCD |
| Power Source | Battery or AC adapter |
| Units of Measure | lb, kg, oz |