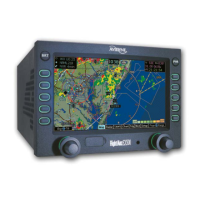
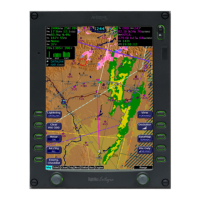
Installation Manual
P/N 600-00175-000 Rev 04 MFD Feature Setup and Checkout
- 25 -
5 MFD Feature Setup and Checkout
This section contains the following information:
● Section 5.1, “Preliminary Test” on page 25.
● Section 5.2, “Optional MFD Function Activation Utility” on page 26
● Section 5.3, “Using the Configuration Save and Restore (CSR) Utility” on page 26
● Section 5.4, “Using the Maintenance Mode Page” on page 27
● Section 5.5, “GPS/FMS Navigators Setup” on page 30
● Section 5.6, “Lightning Sensor Setup” on page 35
● Section 5.7, “Traffic Sensor Setup” on page 40
● Section 5.8, “TAWS Setup (Optional)” on page 44
● Section 5.9, “Radar Sensor Setup” on page 46
● Section 5.10, “Aircraft Setup” on page 59
● Section 5.11, “Map Heading Source Setup” on page 64
5.1 Preliminary Test
➤ Power up the MFD for post installation evaluation and configuration. To do so:
1. Turn on the MFD by applying power to the aircraft electrical bus supplying the MFD.
Note: Read the EX500/EX600 Multi-Function Display Pilot’s Guide for explanations of various
functions.
2. The green LED control lights behind all the front panel controls should light up.
3. After the initial power up, the software will load and go through several checks. During this startup
sequence the screen displays the text “Initializing-Please Wait...”.
4. The startup sequence is finished when the “Press any bezel key to Continue...” message displays.
 Loading...