13
AB-7521
(1) Attach the main unit of the Multi-thermocase
mounting kit to the mounting plate of the Multi-
thermocase.
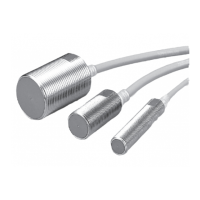
Mounting plate of Multi-thermocase
Main unit of
Multi-thermocase
mounting kit
2 pan-head screws
(M3, L = 6) of Multi-thermocase
Wires from
the load
66.7mm
Multi-thermocase
mounting kit (optional parts)
(2) Connect the lead wires of the main unit and the
wires from the load.
Refer to Figs. 17 and 18 in ■ “Wiring.”
(3) Detach the cover of the main unit.
Refer to step (4) in Wall-direct mounting.
(4) Set the depth change levers on the both sides
of the main unit to the lower position (indicated
with "H”) .
IMPORTANT
•
When attaching to the Multi-thermocase,
set the depth change levers on the both
sides of the main unit to the lower position
(indicated with "H”) .
Depth change levers
(lower position,
indicated with "H")
(5) Attach the main unit to the Multi-thermocase
mounting kit.
Use the 4 screws (M3, flat-head, L = 16)
supplied with the sensor.
z
Protection form heat radiation, heat
conduction, etc.
To protect the measuring accuracy from
disturbances, change the the position (height)
of the temperature/humidity sensing elements as
described below.
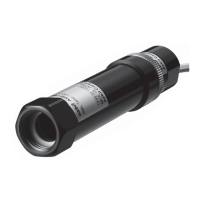
(1) Remove 4 mounting screws of the sensor.
mounting kit
Main unit
Mounting
screws
Figure 10
(2) Raise the main unit from the Wall-direct
mounting kit. 9 mm max. can be raised.
Main unit
Main unit of Wall-direct
mounting kit
Figure 11
(3) Set the depth change levers down, located on
the both sides on the main unit.
Note: The levers are factory-set at the upper "L" position.
Depth change levers
(upper position,
indicated with "L")
Depth change levers
(lower position,
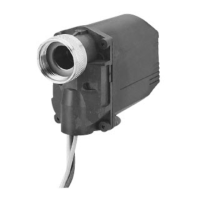
(4) Attach the main unit to the main unit of the Wall-
direct mounting kit with the 4 mounting screws.
mounting kit
Main unit
4 mounting
screws
Figure 12

 Loading...