ASSEMBLY INSTRUCTIONS
5
6
C
BB
B
BB
D
D
Hardware Used
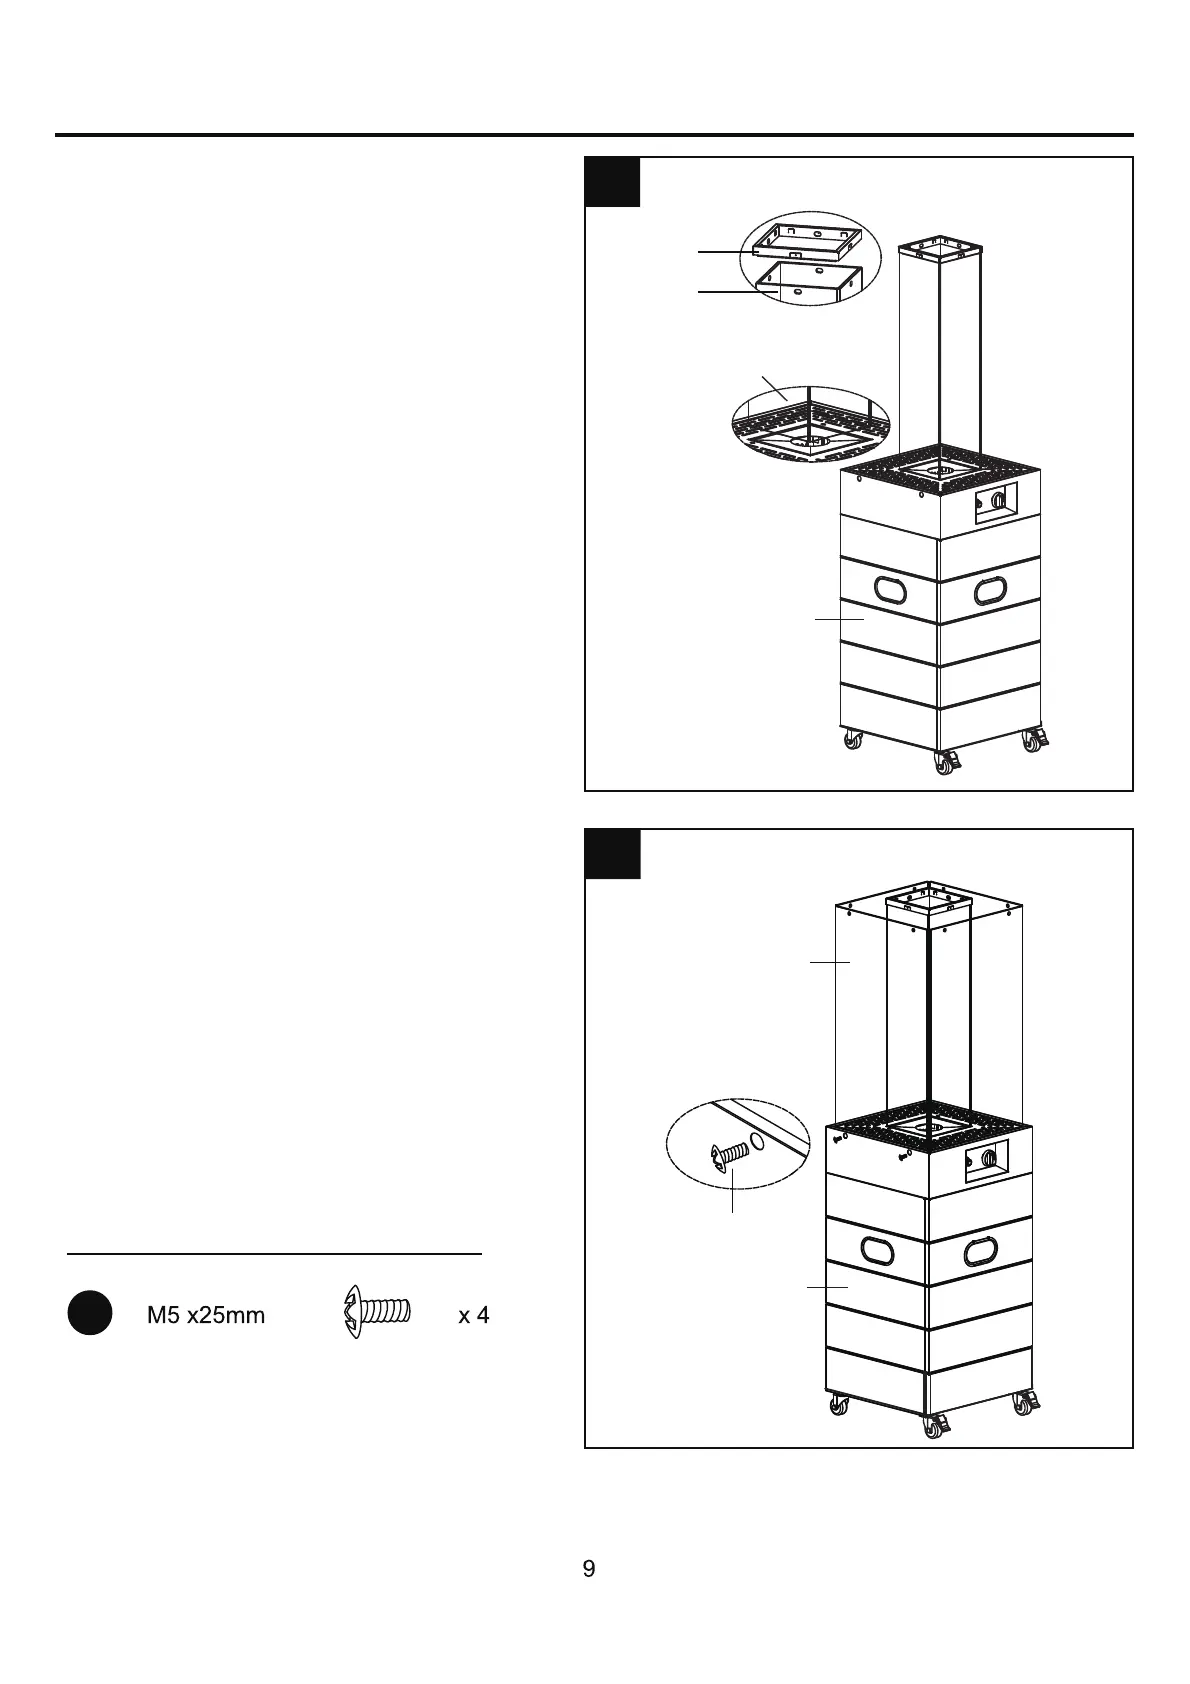
5. Insert the four narrow glass (D) into the gap
in base (F). Cover the four narrow glass (D)
with glass fixture (B) carefully.
6. Insert the four wide glass (C) into the gap
in base (F), then attach them with four (4)
M5 x 25mm bolts (BB) using the Phillips
screwdriver (not included).
Note: DO NOT tighten the bolts completely.
Note: After assembly, the warning icon and
font on the glass faces out and is located in
the top left corner.
F
F


 To Next Page