14
Bulb Replacement
Unicorn Tail, Indicator, reverse, brake and fog.
1. Remove the 2 xing screws whilst supporting
the rear light. Keep the screws safely, ready
for retting the light. Do not attempt to use
any alternative screws which could damage the
rear light or caravan panel.
2. Pull the rear light towards you from the side
with the xing holes. This will release the
2-hooks which locate into the caravan panel
and will allow you to see the back of the rear
light.
3. Remove the bulb holder with the failed bulb
from the rear light by turning the bulb holder
anti-clockwise, remove the failed bulb from the
bulb holder and t the correct replacement.
There is a diagram on the lower part of the light
which shows the bulb type to be tted. Replace
the bulb holder by inserting into the hole and
turn clockwise to lock into position. Ensure all
seals are correctly located.
4. Offer the rear light back into the caravan panel,
ensure the 2-location hooks are engaged and
then replace the rear light xing screws.
Do not over tighten! Maximum torque is 80
Ncm
5. Check for correct operation of all light functions.
Pegasus GT65 Tail, Indicator, reverse, Brake and
Fog.
1. Using a Pozi-Drive screwdriver remove carefully
the screws visible on the failed lamps lens,
support the lens so it cannot fall.
Function dependant
2. For the Indicator bulb remove the bulb by
turning anticlockwise with slight pressure on
the bulb.
3. Replace Bulb with a new 12V 21W Clear Bulb
aligning the pins correctly prior to installation.
Install new bulb with slight pressure and turn
clockwise.
4. For the Stop Tail bulb remove the bulb by turning
anticlockwise with slight pressure on the bulb.
5. Replace Bulb with a new 12V 21/5W Clear Bulb
aligning the pins correctly prior to installation.
Install new bulb with slight pressure and turn
clockwise.
6. For the Fog bulb remove the bulb by turning
anticlockwise with slight pressure on the bulb.
7. Replace Bulb with a new 12V 21W Clear Bulb
aligning the pins correctly prior to installation.
Install new bulb with slight pressure and turn
clockwise.
8. For the Reverse bulb remove the bulb by turning
anticlockwise with slight pressure on the bulb.
9 Replace Bulb with a new 12V 21W Clear
Bulb aligning the pins correctly prior to installation.
Install new bulb with slight pressure and turn
clockwise.
Upper Side position lamps
1. Remove lens from base to access bulb.
2. Carefully insert a small at head screwdriver
into the recess in the lower edge of the lamp
base. Apply pressure to the locking base.
3. Lift lens upwards and away from the lamp base,
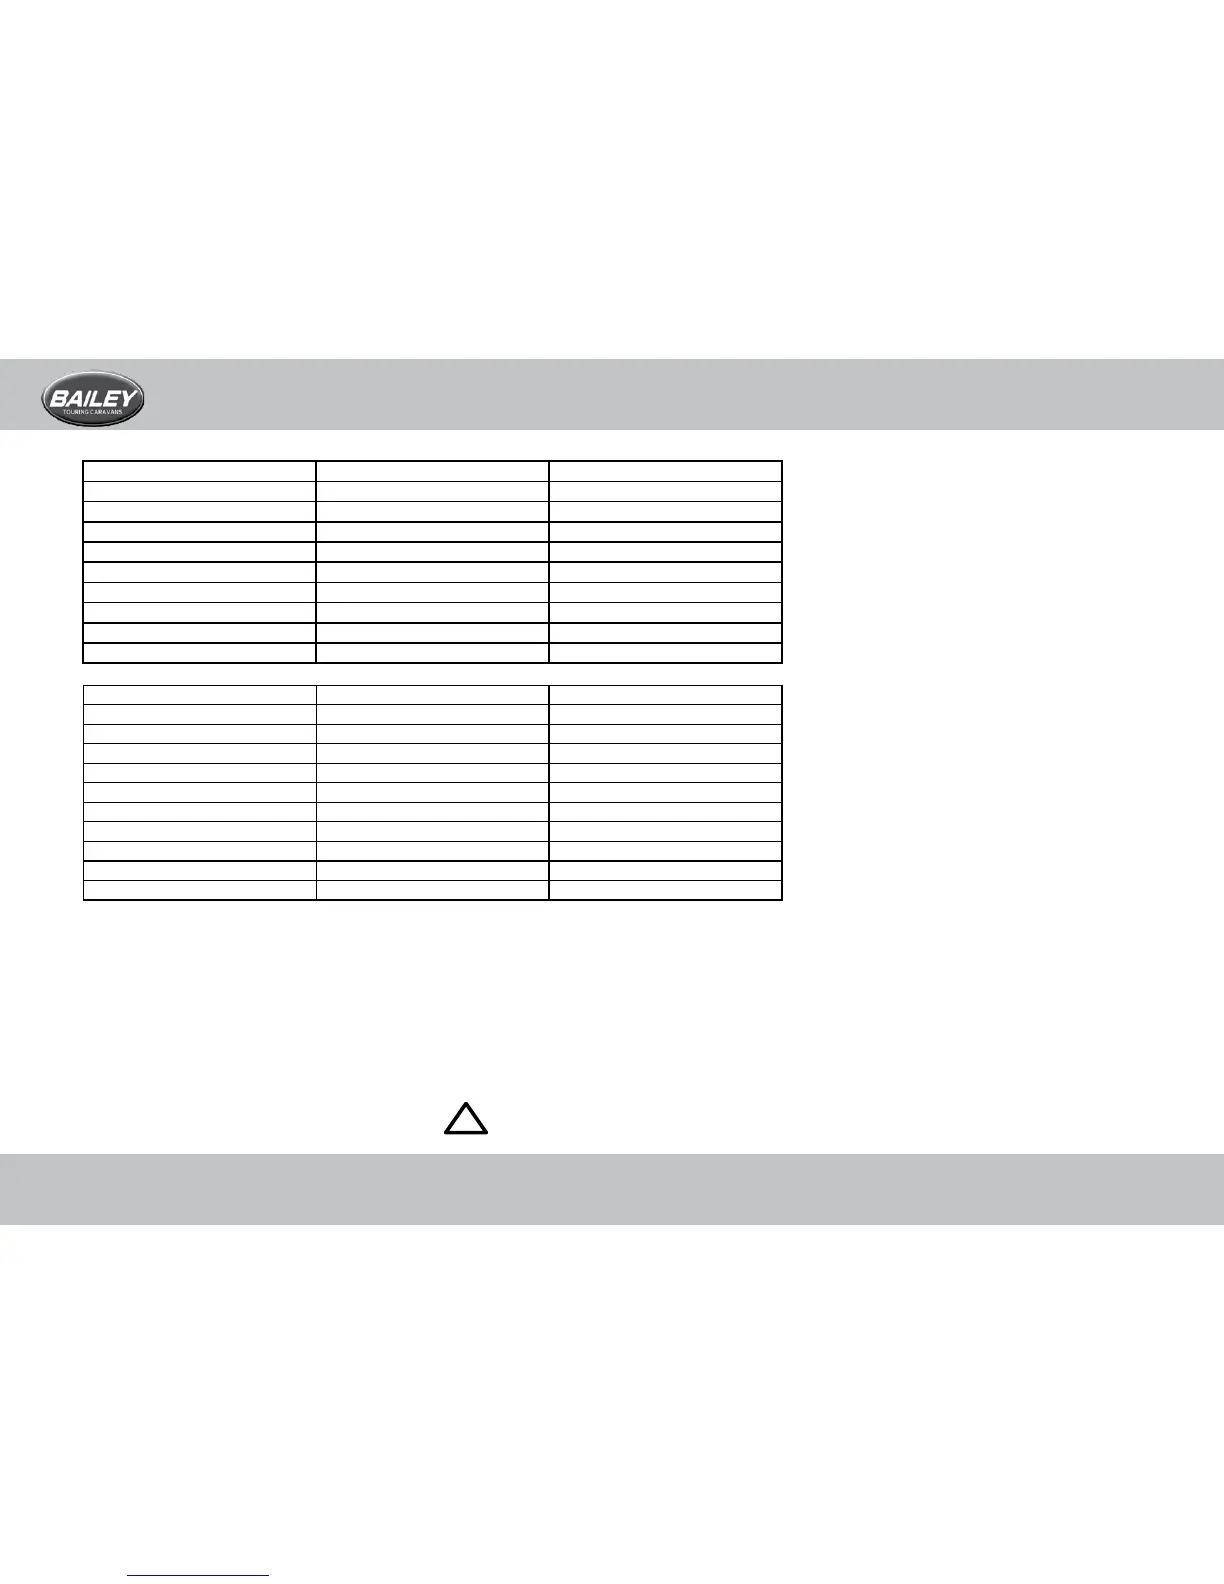
Road Lights Bulb Type Bulb Rating
Front Marker Lights LED 12v/ <1 watt
Side Marker Lights (Low Level) LED 12v/ <1 watt
Side Marker Lights (High Level) R5W 12v/ 5 watt
Brake Light (High Level) LED 12v/ <1 watt
Number Plate Light Festoon 12v/ 10 watt
Tail Light R10 12v/ 10 watt
Direction Indicator Light PY21 12v/ 21 watt
Reversing Light P21 12v/ 21 watt
Brake Light (Low Level) P21 12v/ 21 watt
Fog Light P21 12v/ 21 watt
 Loading...