Open battery Cover (C1)
Insert 4 x AA size batteries observing polarity [“ +” and “ –“ marks]
Replace battery compartment cover
Place the unit onto flat surface, or wall mounted by the hanging hole; the unit is
ready for use now.
4. Time and Alarm Setting
4.1 Radio Controlled Time:
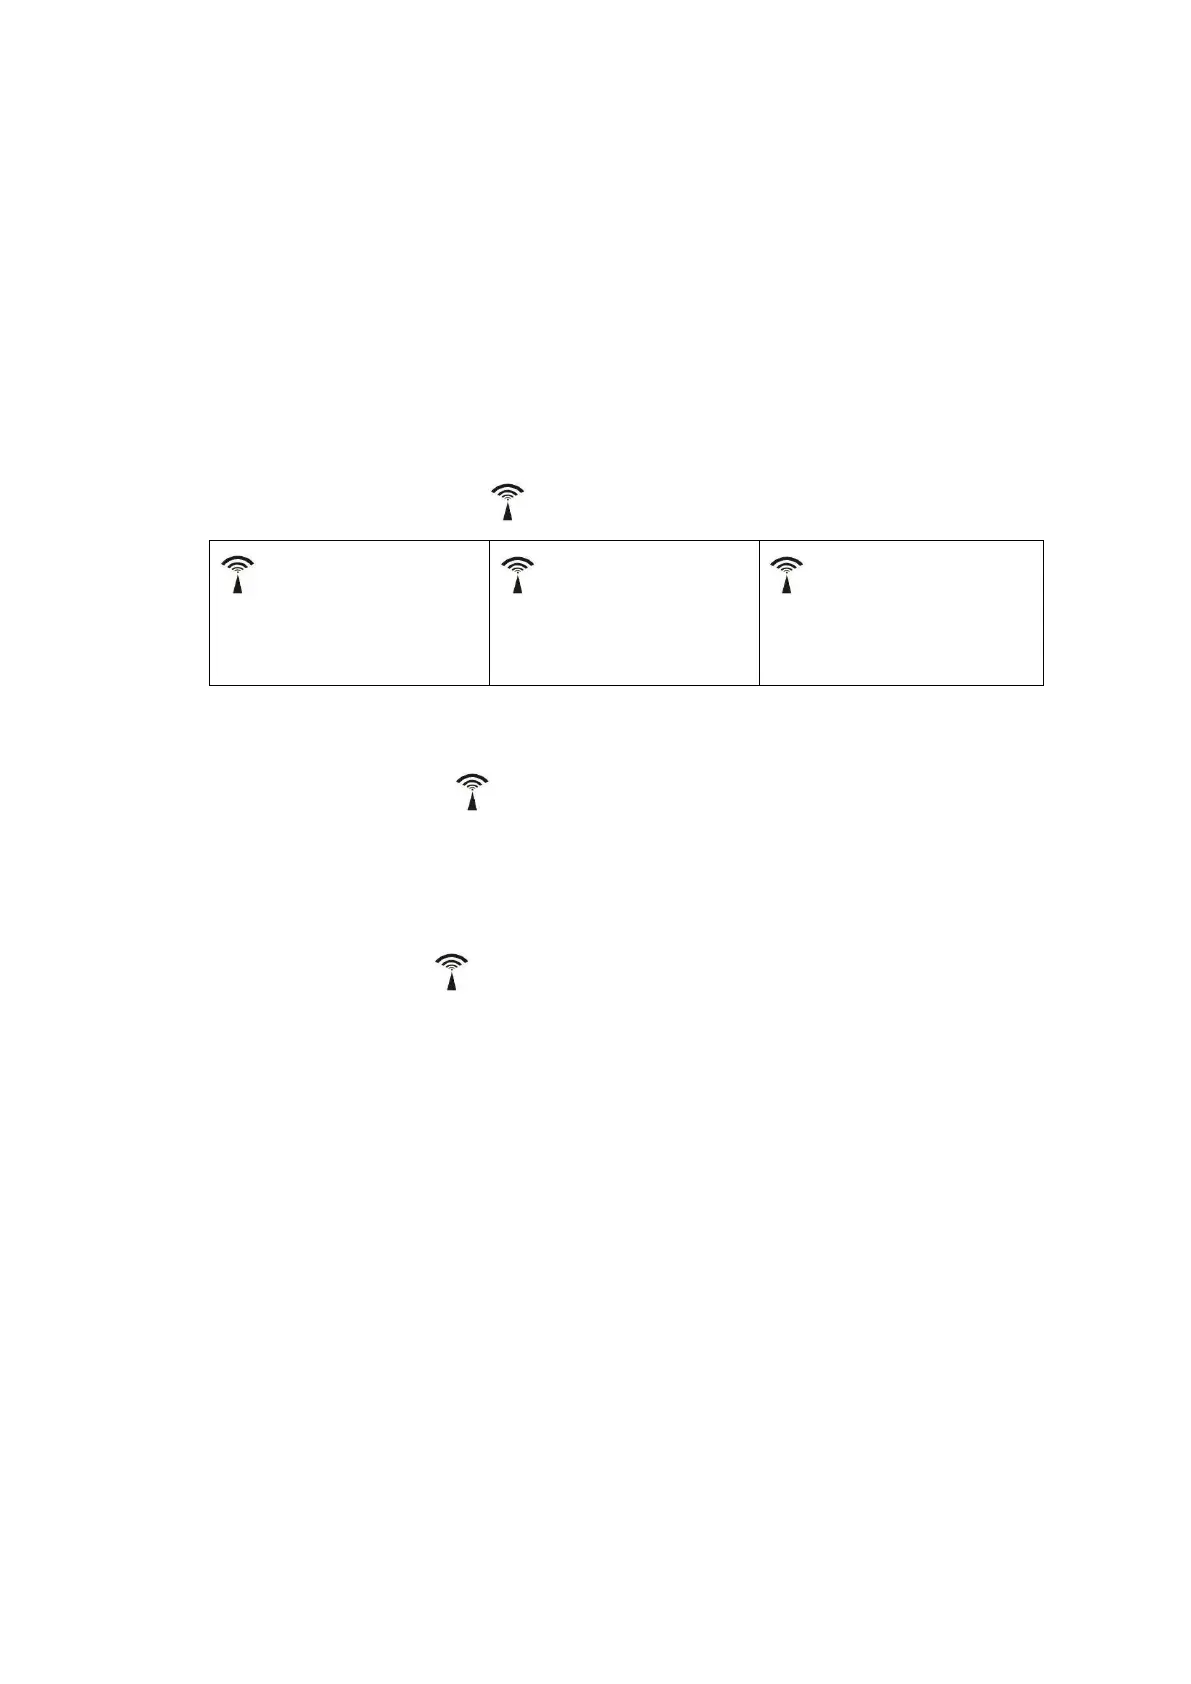
After batteries inserted, the clock automatically starts to scan the DCF time
signal. Radio Control Icon“ ” flashes on the LCD.
(A4) flashes,
Indicating now is
receiving DCF signal
(A4) turns on,
Indicating signal
received successfully
(A4) disappear,
Indicating signal reception
failed
The clock automatically synchronized with the DCF radio signal every day at
2:00 & 3:00 a.m. to maintain accurate time keeping. If synchronization with the
DCF radio signal fails, “ ” on LCD disappear and the clock then attempts to
synchronize with the DCF radio signal at 4am, and 5 am.
The clock can be set to scan the radio signal manually by holding “▼” button (B2)
for 3 seconds. Each reception takes several minutes. If the DCF signal reception
fail, scanning stops (“ ” disappear on the LCD).
Stop scanning DCF radio signal by holding “▼” button (B2) for 3 seconds
4.2 Manual Time Setting:
In time display, hold “MODE/SET” button (B1) for 3 seconds to enter
Clock/Calendar setting Mode.
Press “▲” (B3) or “▼” (B2) button to adjust the setting and press “MODE/SET”
button (B1) to confirm each setting.
(By keeping the “▲” (B3) or “▼” (B2) button pressed, could accelerate the
process and reach the desired value more quickly)
The setting sequence is shown as follow: RCC ON/OFF, Time Zone, Hour, Minute,
Year, Month/Date Sequence, Month, Date, Language of Week, °C / °F(unit of
temperature setting)
There are 8 languages, English, German, French, Spanish, Italian, Dutch, Polish
and Czech, for day-of-week. The languages and their selected abbreviations for
 Loading...