20 English
5. Inial use
Take the product out of the package and remove all the packaging material. Open
the baery compartment of the outdoor sensor and insert two 1.5V AAA baeries
and select the desired channel at the “Channel switch.” Then open the baery
compartment on the back of the main unit and insert three 1.5V AAA baeries. Al-
ternavely, you can use the supplied coaxial power adapter for operaon. For this
purpose, plug the mains adapter into a properly installed socket and then connect
it to the coaxial connector of the main unit.
Note: If you want to use the device with baeries, then the backlight is
not permanently switched on. The backlight of the display is connuously
switched on only when operated with the enclosed power adapter.
The weather staon then aempts to establish connecon with the outdoor sen-
sor. Ensure that both devices are within each other's range. The connecon symbol
" " ashes in the "Outdoor temperature display" of the main unit. If the main
unit cannot establish a connecon with the outdoor sensor within 5 minutes, then
it stops searching. The connecon icon stops ashing and the temperature display
shows "-._°C" and "--%" on the display.
In most cases, the connecon cannot be established due to specic factors such
as reinforced walls or too great a distance between the sensor and the main unit.
In this case, posion the sensor and the main unit closer to each other. To restart
scanning, press and hold the "Channel buon” on the front of the main unit for
3 seconds unl the connecon symbol in the display starts ashing.
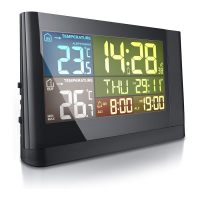
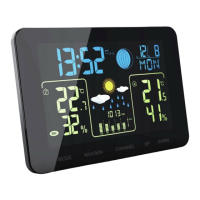
6. Display
Time display:
The me can be displayed in a 12-hour or 24-
hour format. The current me is received via
the outdoor sensor!