WARNING: Failure to install the snap ring on input shaft will allow driveline to
swing freely if bolt is sheared causing possible injury or death.
In the case of a shear bolt breaking (the operator will notice that the cutter will stop even
though the tractor PTO is still engaged), disengage the PTO, stop and turn off the
tractor. Replace the broken shear bolt with another having the identical
characteristic of the original (see fig. 12).
Substituting different shear bolts other than those indicated by the manufacturer can
render the safety inoperable.
4.07 - Safety Slip Clutch
IMPORTANT: To install the driveline with the safety slip clutch: Install the metal clutch
shield onto gearbox using two bolts M8x20, lock washers and nuts. Slide slip clutch onto
gearbox input shaft and secure with M12-1.25x70 class 8.8 bolt, lock washer and
M12-1.25 nut
15
.
When the driveline is supplied with the safety slip clutch, it is important to ensure it is
working properly. The slip clutch delivered with your machine is set at a specific torque
for normal working conditions.
While working, if the clutch slips frequently for no apparent reason, the spring nuts need
to be tightened by a ½ turn. Check the clutch after 600-800 ft., if necessary repeat the
operation. If, after tightening the nuts down, the clutch continues to slip, the discs will
have to be replaced (see fig. 13). Follow the instructions in reverse, if while working
under normal conditions the clutch does not slip at all.
MAINTENANCE 28 BEFCO
T
ORNADO RSD & RRB OPERATOR’S MANUAL
15
Refer to Section 3.03 - Assembly Instructions, for additional information on proper driveline
installation.
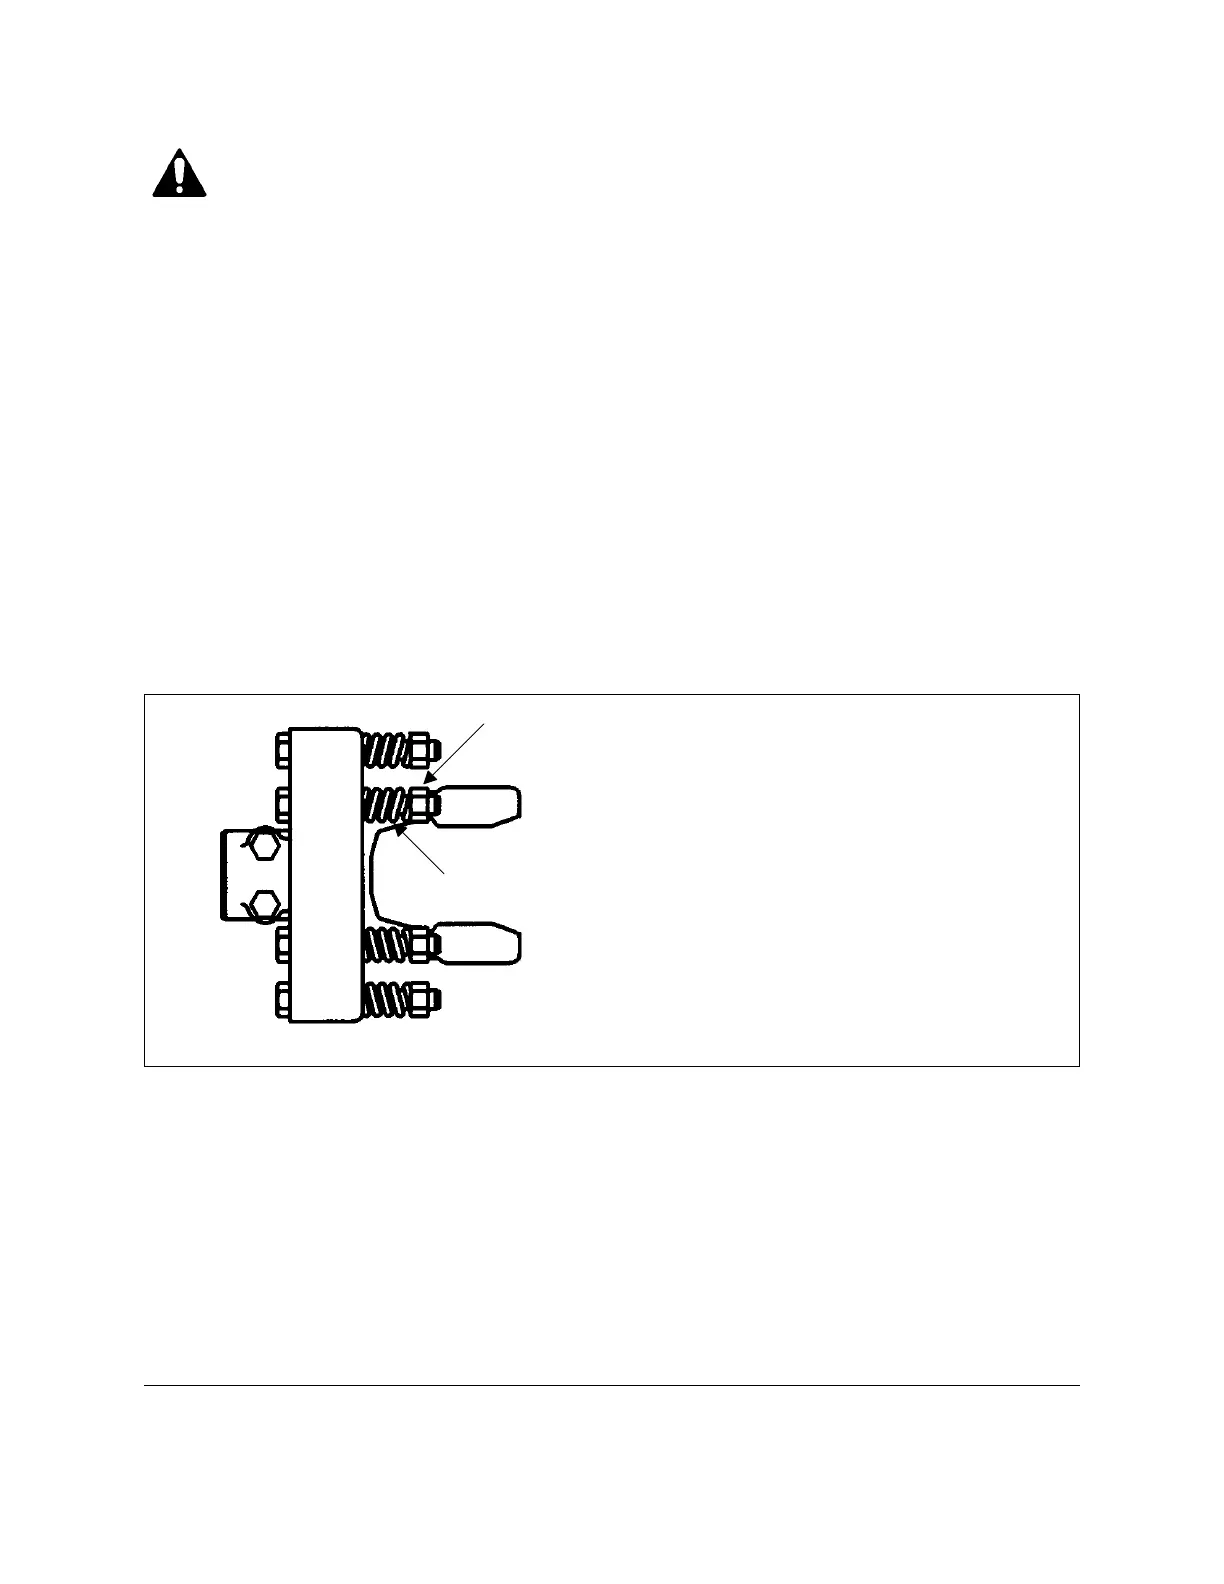
Fig. 13 - Slip clutch yoke.
1
2
1. spring
2. nut
 Loading...