12
1.2 Before you start
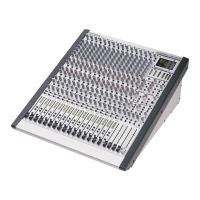
1.2.1 Level meters
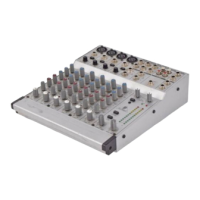
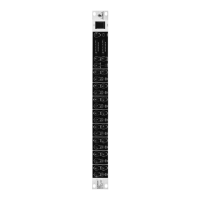
Fig. 1.1: Subgroup and Main Mix level meters
Each of the Main input channels, the Subgroups and the Main Mix bus are equipped with 8-segment, 3-color
LED level meters ( , and ), which help you set levels correctly and avoid distortion. When your
MX3242X is shipped from the factory, the level meters are configured post-fader, but can also be modified to
display pre-fader signals (cf. 4.4.2 Modifications).
The level meters should average around 0 dB during loud passages. If they read persistently higher, or are
peaking above +10 dB, you should move the faders down a bit. As a last resort you can also reduce the input
gain in the channels. Always work with the PFL function and make sure that the red CLIP LED in the level
meters wont light up.
+ When you activate the MUTE switch, the level meters in the main input channels offer you two
helpful functions: If a signal is present in the main input channel, the lowest green LED lights
up (signal present). If the gain setting is too high, the red CLIP LED on top of the channel level
meter lights up. So you are able to control the main input channels signal, even when the
MUTE switch is activated.
1.2.2 Power Supply Unit (PSU)
Fig. 1.2: Connecting the Power Supply
Any amplifier circuit is limited in its transient response by the available current. Every mixer has numerous
operational amplifiers (op-amps) inside to process line level signals. When being driven hard, many desks
begin to show signs of stress due to power supply limitations. Not so with the EURORACK: the sound will
always stay clean and transparent right up to the operating limits of the op-amps themselves, thanks to the
overdimensioned external 150-W PSU. Mounted in a 19" enclosure (2 ½ rack units), the EURORACKs PSU
is connected on the rear with a multi-pin connector. However, you should make sure that 3 HU are available to
ensure proper airflow around the heat sinks.
1. INTRODUCTION
 Loading...