You will also need some tools:
A 7/16Ó,1/2Ó, 9/16Ó wrench (varies with dish size)
A Phillips screwdriver
A spirit level
A drill and drill bits (masonry and wood)
A compass
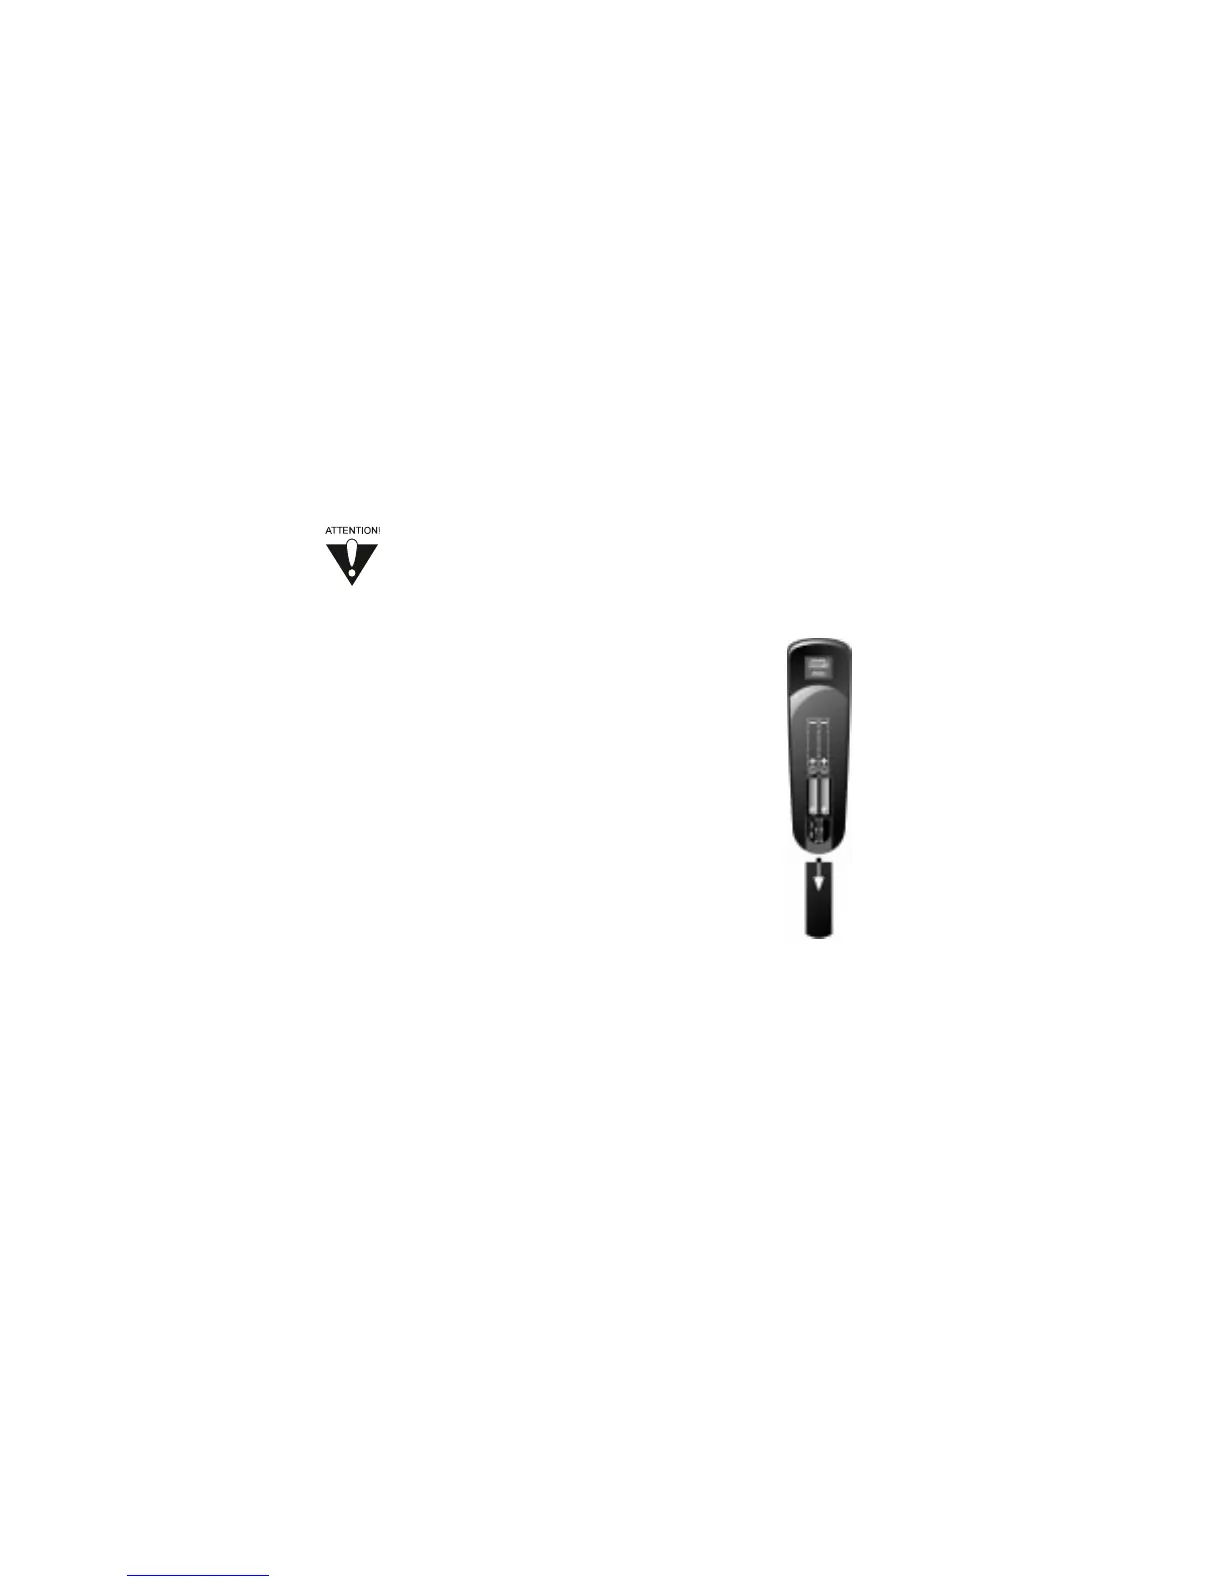
INSTALL BATTERIES IN THE REMOTE
The remote is shipped with four AAA batteries, packaged separately.
Any time you remove or install the batteries, you may have
to reprogram the remote for all electronic components.
1. Press down on the slot in the battery case cover
(on the back of the remote) to open the cover.
2. If you are replacing old batteries, remove all
four batteries.
3. Insert the new batteries, being sure to match the
plus (Ò+Ó) ends with the plus indicators on the
remote. The batteries alternate plus and minus
(Ò-Ó) ends when properly seated.
4. Replace the cover by inserting the tabs into the
slots, and snapping the cover into place.
If the remote does not work after installing the batteries, confirm that the batteries are
properly seated, with the plus and minus ends aligned correctly. You may need to reset
the remote address, particularly if you have a UHF remote.
SET THE REMOTE ADDRESS
When you get your receiver and remote, they are set to address 1. Unless you experience
problems, you do not need to change the address at this time. If you want to change the
address, see ÒSet the Remote AddressÓ on page 1-52.
You may need to set the remote address in any of the following situations:
¥ You have a UHF remote, and you encounter interference caused by other nearby UHF
remotes (for example, a neighbour's UHF remote or a UHF remote being used in
another room of your building).
¥ There is another Bell ExpressVu receiver and remote being used in the vicinity.
Note: In either of the above situations, you may need to assign an address to your
remote and receiver, so that the receiver responds only to that remote.
Page 1-7
Installation and Setup
Before You Start Installation