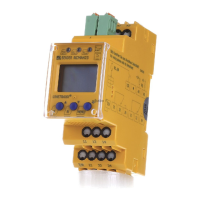
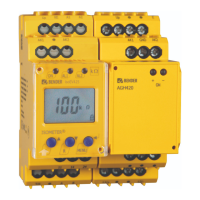
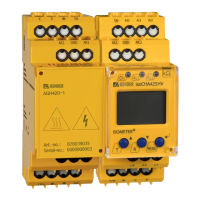
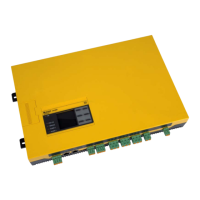
LINETRAXX® RCM420
3 Installation, connection and commissioning
Only skilled persons are permitted to carry out the work necessary to install, put into service and run a
device or system.
DANGER
Risk of fatal injury due to electric shock!
Touching live parts of the system carries the risk of:
•
Risk of electrocution due to electric shock
•
Damage to the electrical installation
•
Destruction of the device
Before installing the device and before working on its connections, make sure that the installation
has been de-energised. The rules for working on electrical systems must be observed.
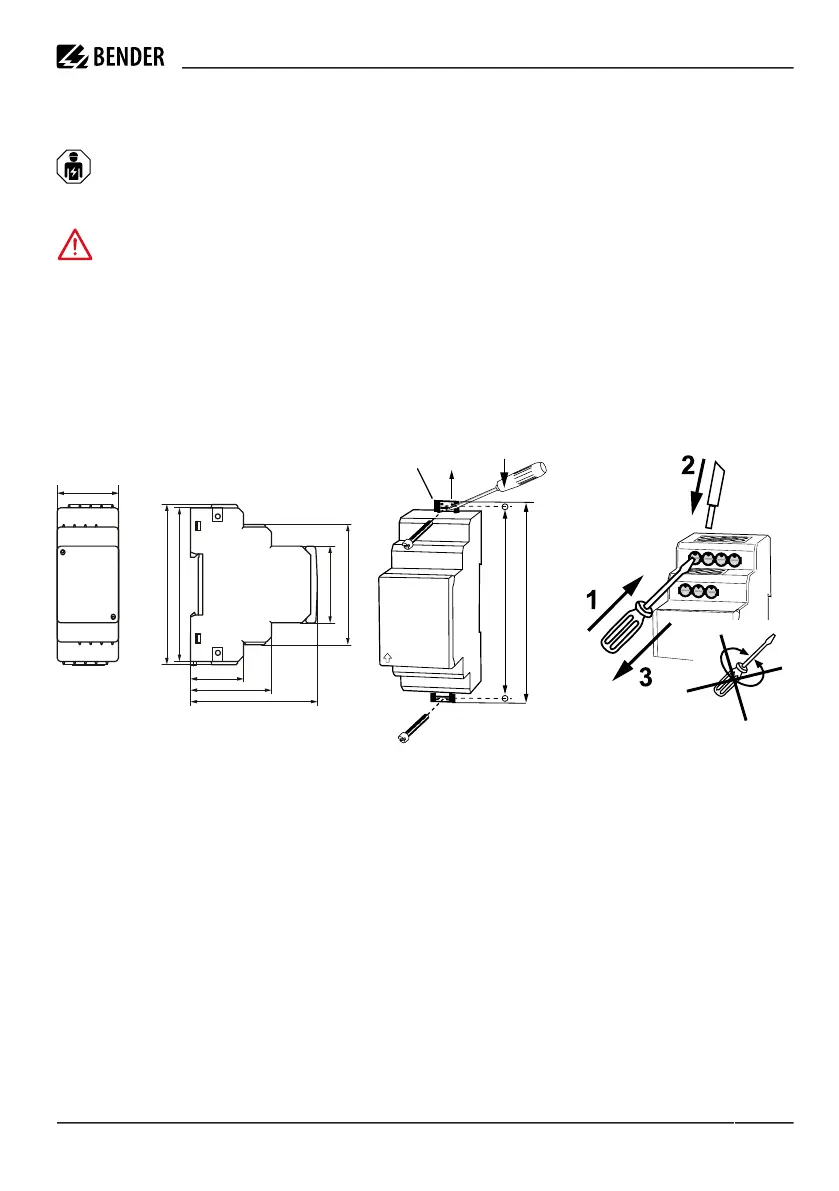
Dimension diagram, drawing for screw mounting, push-wire terminal connection
All dimensions in mm.
The front plate cover is easy to open at the lower part marked by an arrow.
Mounting
DIN rail mounting
Snap the rear mounting clip of the device into place in such a way that a safe and tight fit is ensured.
Screw fixing
Use a tool to move the rear mounting clips (a second mounting clip required, see ordering information) to a
position that it projects beyond the enclosure. Then fix the device using two M4 screws.
3.1 Wiring
Connect the device according the wiring diagram.
RCM420_D00057_06_M_XXEN/12.2023 11
 Loading...