Chapter 2: Hardware installaon | 15
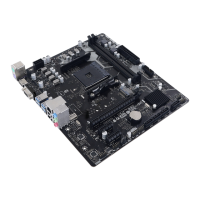
A520MH 3.0
Install M.2 Anchor
1. Lock the M.2 Anchor into the motherboard hole which you use for type of M.2 SSD.
2. Insert the M.2 SSD into the M.2 socket.
3. Insert the pin on the M.2 Anchor into the hole on itself.
Install an Expansion Card
You can install your expansion card by following steps:
• Read the related expansion card’s instrucon document before install the expansion
card into the computer.
• Remove your computer’s chassis cover, screws and slot bracket from the computer.
• Place a card in the expansion slot and press down on the card unl it is completely
seated in the slot.
• Secure the card’s metal bracket to the chassis back panel with a screw. (This step is only
• for installing a VGA card.).
• Replace your computer’s chassis cover.
• Power on the computer, if necessary, change BIOS sengs for the expansion card.
• Install related driver for the expansion card.
Note
»
»
Please be note that you will need to use M2 type screwdriver if you want to install or uninstall the
screw. It is recommended not to use a screwdriver that does not meet the specicaons, otherwise
the screw may be damaged.

 Loading...