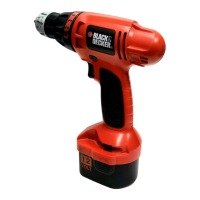
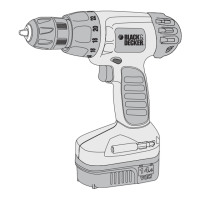
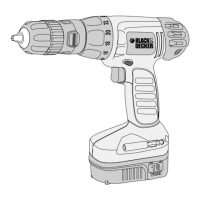
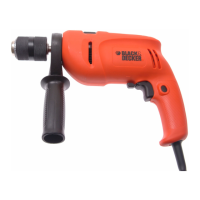
" ' T
Do not attempt to open the charger or the drill. There
are no customer serviceable parts inside. Return to any
authorized Black & Decker service center.
DO NOT incinerate the drill or battery packs even if they
are severely damaged or completely worn out. The
batteries can explode in a fire.
Do not incinerate the batteries. They can explode in a fire.
A small leakage of liquid from the battery cells may occur
under extreme usage, charging or temperature conditions.
This does not indicate a failure. However, if the outer seal
is broken and this leakage gets on your skin:
- Wash quickly with soap and water.
. Neutralize with a mild acid such as lemon juice or
vinegar.
/ If the battery liquid gets in your eyes, flush them with
clean water for a minimum of 10 minutes and seek
immediate medical attention.
!105/-8";@1 The liquid is a 25-35% solution of
potassium hydroxide.
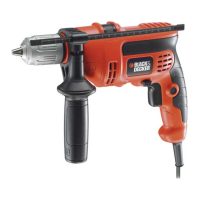
& "
Do not make contact with any of the drill metalic part
when drilling or screwdriving in places nearby by live
electric wires.
Do not lock the tool #" when drilling by hand.
Refer to Y#<1>-@5:3:?@>A/@5;:?'C5@/4Z
Hold drill firmly to control the twisting action of the drill.
When attaching accessories in the drill chuck, hand
tighten the keyless chuck firmly.
+->:5:3 Drill may stall (if overloaded or improperly used)
causing a twist. Always expect the stall.Grip the drill firmly to
control the twisting action 53 and prevent loss of control
which could cause personal injury. If a stall does occur, release
the trigger immediately and determine the reason for the stall
before re-starting.
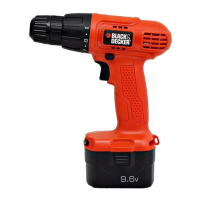
&"($#+&$
The batteries in your power pack are not fully charger at the
factory. Before attemting to charger them, thoroughly read all
of Y(41'-21@E:?@>A/@5;:?Z
The 5-7 hours charger is designed to use standard household
power.
Put the switch control lever in the center #position
53 and remove power pack from the tool.
Plug the charger into any standard electrical outlet.
Insert the power pack into the charger and let it charge for
5-7 hours.
Remove pack from the charger and replace in tool.
9<;>@-:@4->35:3";@1?
After normal usage, your drill should be fully charged
in 5-7 hours or less. Your drill was sent from the factory in
an uncharged condition. Before attempting to use it,
it must be charged for at least 3 hours.
#"#( charge the power pack in an air temperature
below 40°F or above 105°F. This is important and will
prevent serious damage to the power pack. Longest life
and best performance can be obtained if the power
pack is charged when the air temperature is about 75°F.
While charging, the charger may hum and become warm
to touch. This is a normal condition and does not indicate
a problem.
If the power pack does not charge properly — Check
current at receptacle by plugging in a lamp or other
appliance. Check to see if receptacle is connected to a
light switch which turns power off when you turn out the
lights. Move charger and power pack to a surrounding
air temperature of 40°F to 105°F. If the receptacle and
temperature are ok, and you do not get proper charging,
take or send the power pack and charger to your local
Black & Decker service center.
The power pack should be recharged when it fails to
produce sufficient power on jobs which were easily done
previously. #"#(#"(") using drill with its power
pack in a depleted condition.
To prolong power pack life, avoid leaving the power pack
on charge for more than 5-7 hours. Although overcharging
is not a safety concern, it can significantly reduce overall
power pack life.
When the battery is inserted into the charger, the red
Y4->35:3:05/-@;>Z light will come on indicating that
there is contact between the battery and charger. The
light will stay on as long as the battery is in the charger
and the charger is plugged into a working outlet. It +
"#( flash, go out or change to a different color when the
charging cycle is complete.
)'
+->:5:3 To reduce risk of injure, read, understand and
follow the instructions and warnings, before you use the tool.
'C5@/4-:0;:@>;8A@@;:
A forward/reverse control button determines the direction
of the tool and also serves as a lock off button 53
► To select forward rotation, release the trigger switch
and depress the forward/reverse control button.
► To select reverse, depress the forward/reverse control
button the opposite direction. The center position of the
control button locks the tool in the off position. When
changing the position of the control button, be sure the
trigger is released.
";@1The first time tool is run after changing direction of
rotation, you may hear a click on start up. This is normal
and does not indicate a problem.
 Loading...