5
Symbols
• The label on your tool may include the
following symbols. The symbols and their
definitions are as follows:
V ..................volts
A ..................amperes
Hz ................hertz
W .................watts
min ..............minutes
or AC ...... alternating current
or DC ..direct current
n
o ................no load speed
................Class I Construction
(grounded)
................earthing terminal
...............safety alert symbol
................Class II Construction
(double insulated)
.../min or rpm...revolutions or reciprocation
per minute
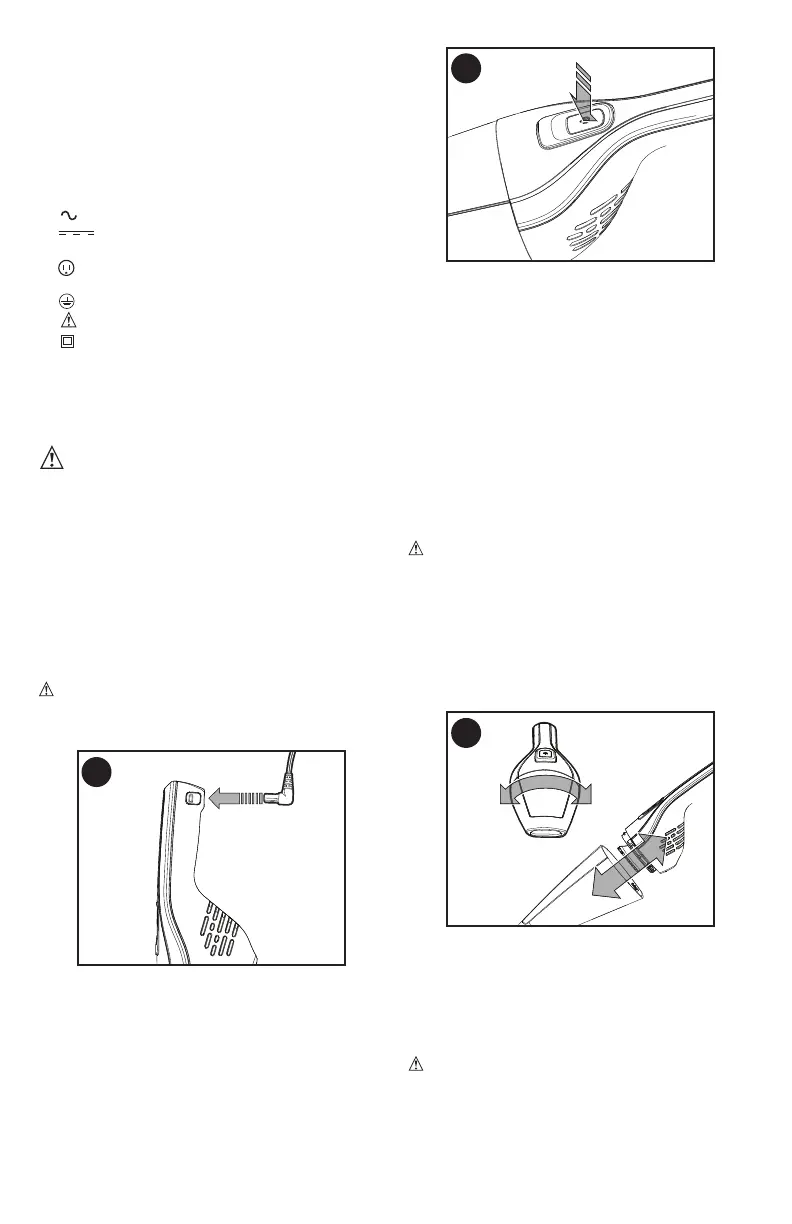
Charging the battery
WARNING: For use
only with the supplied charger.
• Before rst use, the battery must be
charged for at least 10 hours.
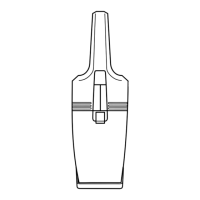
• Plug the jack plug of the charger into
the charging socket of the tool as shown
in Figure A. Plug the charger into any
standard 120 Volt 60 Hz electrical outlet.
NOTE: While charging, the charger may
become warm. This is normal and does not
indicate a problem. The appliance can be
left connected to the charger indenitely.
WARNING: Do not charge the
battery at ambient temperatures below 50
°F or above 104 °F.
A
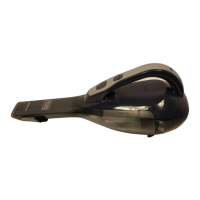
Switching On - Figure B
• To switch the appliance on, depress
the on/off button (1). Once the button is
released the vacuum will turn off.
B
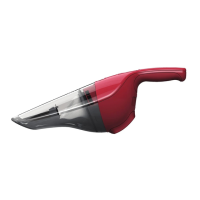
Dry pick up
• For everyday spills of dry material.
• Do not ll the dust bowl (2) beyond the
end of the intake chute.
Optimizing the suction force
In order to keep the suction force optimised,
the lter must be cleared regularly during use.
EMPTYING AND CLEANING
THE PRODUCT.
Removing the dust bowl and
lter - Figures C & D
WARNING: The lter is reusable and
should be cleaned regularly.
• Rotate the dust bowl (2) counter-clockwise
as shown in Figure C and remove from
the handle of the unit.
C
• While holding the dust bowl over a bin
or sink, pull out the lter (5) to empty the
contents as shown in Figure D.
• To replace the dust bowl, place it back
onto the handle and rotate clockwise until
it locks firmly into position.
WARNING:
Never use the appliance
without the lter. Optimum dust collection will
only be achieved with a clean lter.
 Loading...