5
ENGLISH
Electrical safety
This tool is double insulated; therefore no earth wire
is required. Always check that the power supply
corresponds to the voltage on the rating plate.
Additional safety instructions for angle grinders
◆ Wear safety glasses or goggles when operating this tool.
◆ Wear ear protection when operating this tool.
◆ Wear gloves when operating this tool.
◆ Do not cut or grind light metal with a magnesium content
exceeding 80%, since this type of metal is flammable.
◆ Only use grinding and cutting discs and other accessories
recommended in this manual.
◆ Make sure that the maximum speed of the grinding or
cutting disc exceeds the no-load speed of the tool.
◆ Do not cut workpieces requiring a maximum depth of cut
exceeding that of the cutting disc.
◆ Never use the tool without the guard, except for sanding.
◆ Do not exert side pressure on the grinding or cutting disc.
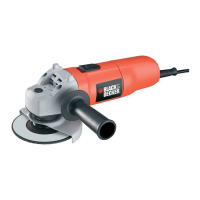
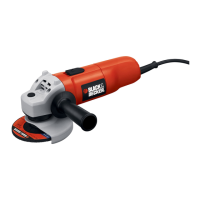
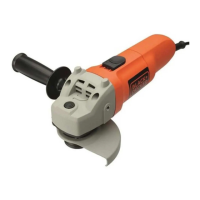
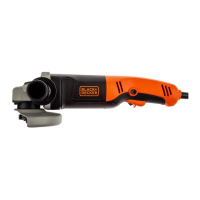
Features
This tool includes some or all of the following features.
1. On/off switch
2. Lock-off button
3. Side handle
4. Spindle lock
5. Guard
Assembly
Warning! Make sure that the tool is switched off and unplugged.
Fitting and removing the guard (fig. A)
Fitting
◆ Place the tool on a table, with the spindle (6) facing up.
◆ Hold the guard (5) over the tool as shown.
◆ Align the holes in the adjusting plate (7) with the screw
holes (8).
◆ Press the guard down and insert the screws (9) into the
holes.
◆ Tighten the screws.
Removing
◆ Remove the screws (9).
◆ Take the guard off the tool.
Warning! Never use the tool without the guard.
Adjusting the guard (fig. B)
The guard can be rotated 180°.
◆ Slacken the screws (9) and the nut (10).
◆ Rotate the guard as required.
◆ Re-tighten the screws and the nut.
Fitting the side handle
◆ Screw the side handle (3) into one of the mounting holes
in the tool.
Warning! Always use the side handle.
Fitting and removing grinding or cutting discs (fig. C - F)
Always use the correct type of disc for your application.
Always use discs with the correct diameter and bore size
(see technical data). The maximum thickness for grinding discs
is 6 mm, for cutting discs 3.5 mm.
Fitting
◆ Fit the guard as described above.
◆ Place the inner flange (11) onto the spindle (6) as shown
(fig. C). Make sure that the flange is correctly located on
the flat sides of the spindle.
◆ Place the disc (12) onto the spindle (6) as shown (fig. D).
If the disc has a raised centre (13), make sure that the
raised centre faces the inner flange.
◆ Make sure that the disc locates correctly on the inner flange.
◆ Place the outer flange (14) onto the spindle. When fitting
a grinding disc, the raised centre on the outer flange must
face towards the disc (A in fig. E). When fitting a cutting
disc, the raised centre on the outer flange must face away
from the disc (B in fig. E).
◆ Keep the spindle lock (4) depressed and tighten the outer
flange using the two-pin spanner (15) (fig. F).
Removing
◆ Keep the spindle lock (4) depressed and loosen the outer
flange (14) using the two-pin spanner (15) (fig. F).
◆ Remove the outer flange (14) and the disc (12).
Use
◆ Warning! Let the tool work at its own pace.
Do not overload.
◆ Carefully guide the cable in order to avoid accidentally
cutting it.
◆ Be prepared for a stream of sparks when the grinding or
cutting disc touches the workpiece.
◆ Always position the tool in such a way that the guard
provides optimum protection from the grinding or cutting
disc.
Switching on and off
◆ To switch the tool on, press the lock-off button (2) and
subsequently press the on/off switch (1).
◆ To switch the tool off, release the on/off switch (1).
Warning! Do not switch the tool off while under load.
Untitled-1 31-07-2003, 13:215

 Loading...