(/wp-content/uploads/2019/03/heavy-tutorial-23.jpg?x62571)
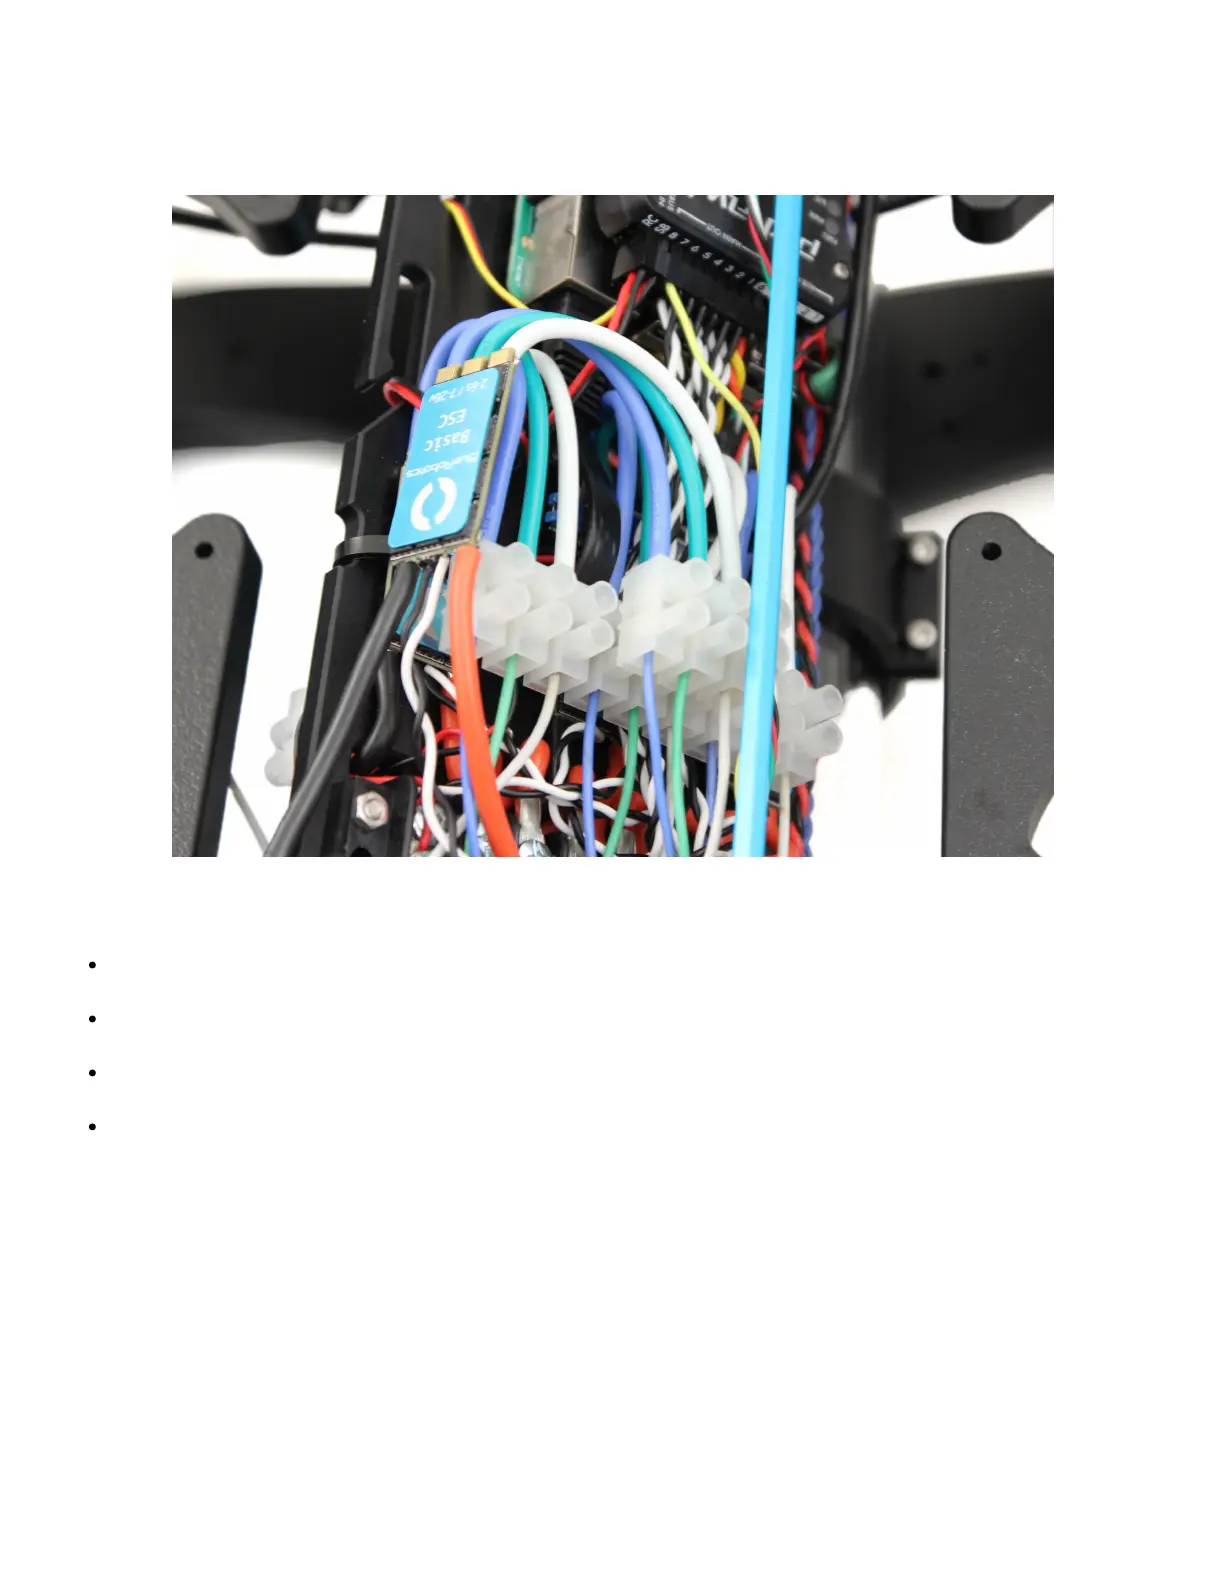
3. Connect the motor power wires from the new ESCs to the motor terminal blocks as shown below, using your 2 mm
at head screw driver.
(/wp-content/uploads/2019/03/heavy-tutorial-11.jpg?x62571)
4. Plug ESC Signal Wires into Pixhawk with the following steps:
Unplug the Lumen light signal wire from the Pixhawk Channel 7 port and replug it into Aux Channel 1 with the yellow
wire oriented toward the bottom of the Pixhawk.
Unplug the camera tilt servo from Pixhawk Channel 8 and replug it into Aux Channel 2 with the yellow signal wire
oriented toward the bottom of the Pixhawk.
Plug the servo signal wire for Thruster 7 into Channel 7 on the Pixhawk with the white signal wire oriented toward the
bottom of the Pixhawk.
Plug the servo signal wire for Thruster 8 into Channel 8 on the Pixhawk with the white signal wire oriented toward the
bottom of the Pixhawk.
5. Connect the ESC Power Wires into open screw terminals on the respective positive and negative terminal blocks.
 Loading...