9
SETUP INSTRUCTIONS (CONTINUED)
Ination Instructions (Continued)
The adequate air pressure: make sure the pool is rm to the touch but NOT hard - there should
be small folds around the armrests, backrests and/or side edges, and below the cup holders (if any).
Also compare the pressure with that of the large main chamber.
2. Close and press the ination valves into the unit to get a at surface.
3. Check regularly to ensure the adequate air pressure during each use, especially on very hot or cold
days.
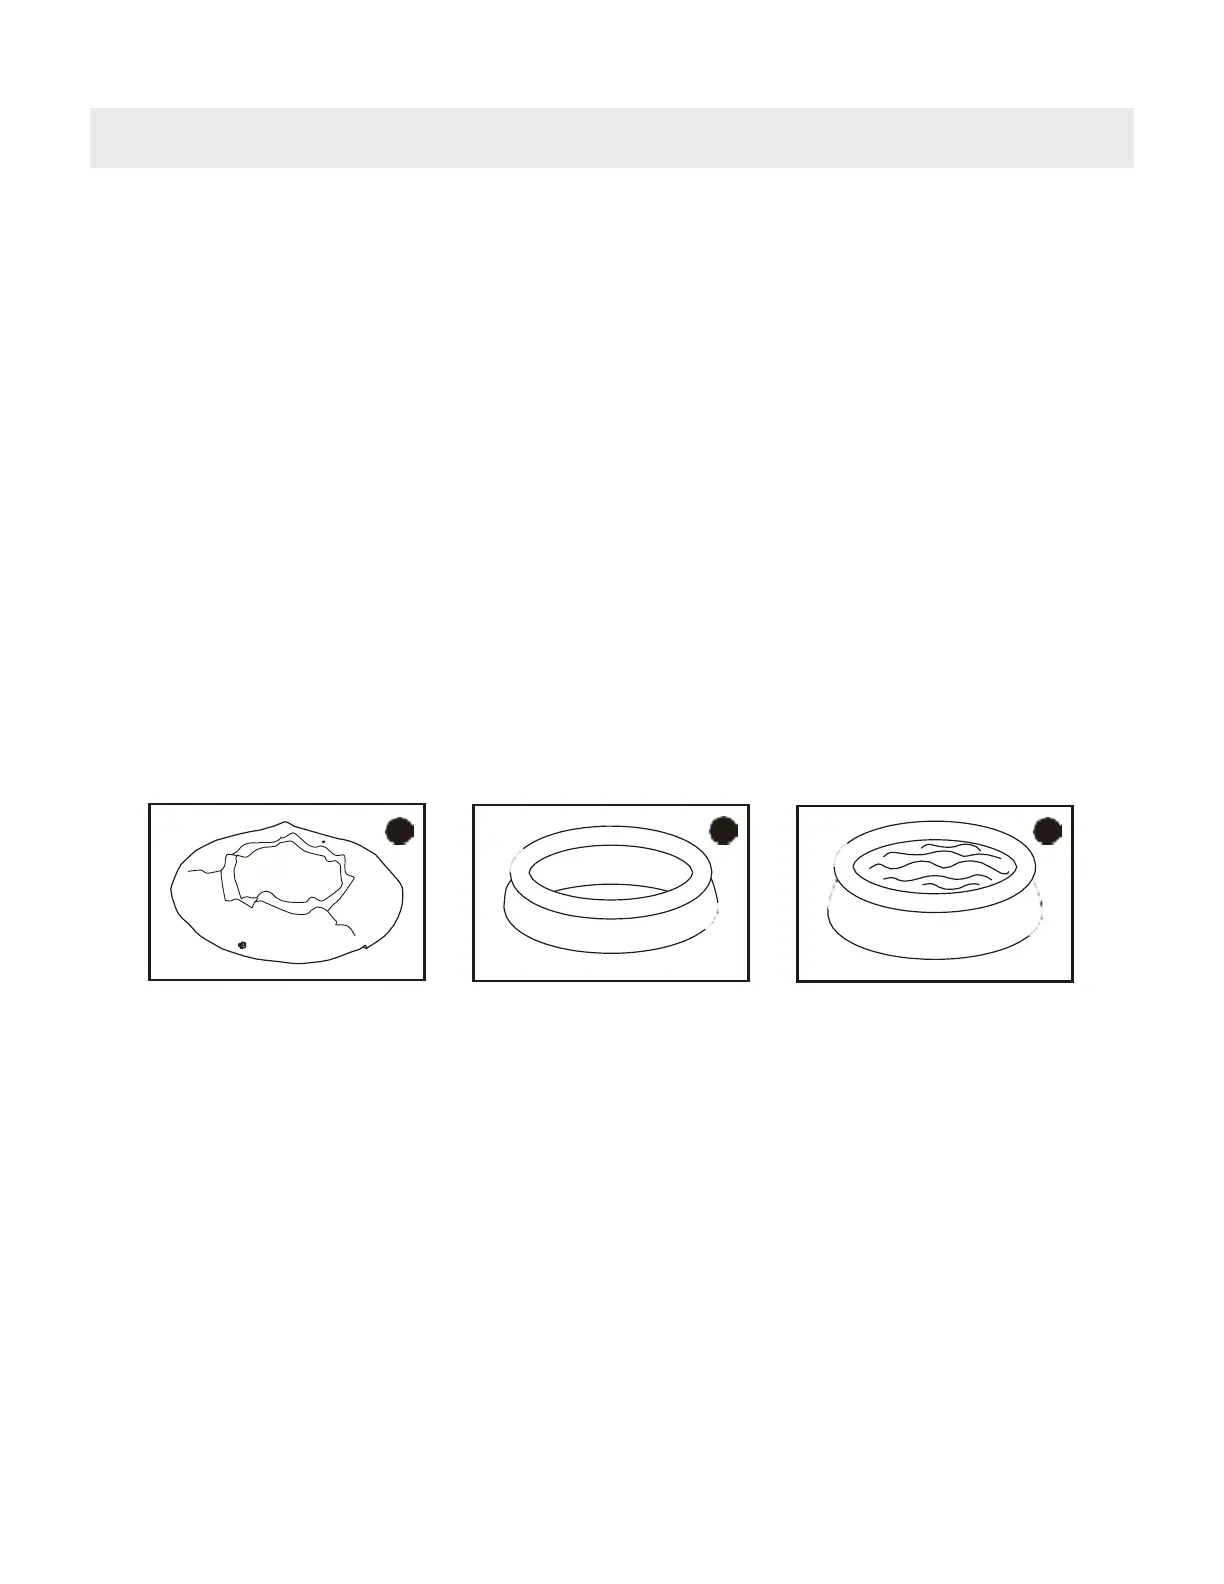
NOTE: After about 1 inch of water is on the bottom, stop lling and completely smooth out all
wrinkles from the bottom of the pool, working outwards from the center. be sure the oor of the
pool is completely round and at. NOT FOLLOWING THIS STEP WILL MAKE THE POOL FILL
UNEVENLY AND THE POOL MAY START TO LOOK LIKE AN OVAL OR LOOK MISSHAPEN.
4. Pull all the outer walls up straight and make sure they are not under the pool oor. Also, make sure
to pull up the top ring, all around the pool, so that it lls evenly.
NOTE: If more than 1-2 inches of water collects on any one side before the pool starts lling in the
center, the pool is not level enough, and must be corrected. See “Site Preparation” on page 8.
NOTE: The weight of the water will make adjustment impossible after this point.
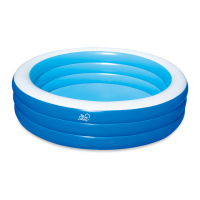
5. Now, as you continue lling, the inated ring will rise as the water deepens. the maximum water
level ll line is printed on the inside of the pool liner. Once this is done, if your pool included a
lter/pump system please refer back to the “Swimming Pool Filter System” owner’s manual and
follow all instructions for the installation of the lter pump.
1
2
3
Pool Repair
1. Use a mix of liquid dish soap and water in a spray bottle, and spray over suspicious areas. Any leak
will produce bubbles that will pinpoint the location of the leak.
2. Thoroughly clean the area surrounding the leak to remove any dirt or grime.
3. Cut a piece of repair patch (included) with a margin of 0.8”(2cm) larger than the damaged area,
rounding the corners with scissors.
4. Place the patch over the center of the leak, press down rmly, and squeeze out all air bubbles to
the edges. You may want to put a weight on top to keep it in place.
5. Do not inate for one hour after patching.
NOTE: if the patch does not hold, you can use the patch with silicone- or polyurethane-based glue
designed for repairing camping mats, tents, or shoes. Consult your local household/camping
supply stores and follow the instructions of the glue you’ve chosen.