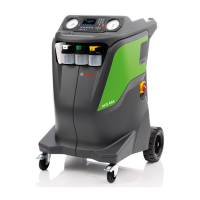
ACS 653, ACS 663 Service Manual
SP00D00624 2021-04-08 Robert Bosch GmbH
78
Electrical
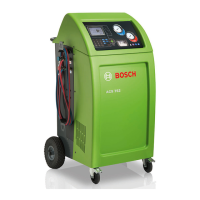
Follow these steps to replace the air flow
sensor. Refer to Figure 3-9.
1. Clear service hoses and remove them.
2. Disconnect unit from the power source.
3. Remove the front plastic cover and open
service rear door.
4. Remove the two nuts securing the air ow
sensor to the fan assembly.
5. Disconnect the connector from the air ow
sensor (unit inner view, see Figure 3-9).
6. Loosen 2 screws outside the frame to move
the fan assembly.
7. Remove the air ow sensor.
8. Install the replacement air flow sensor
(unit outside view, see Figure 3-9) by
securing it to the fan assembly with two
nuts.
9. Connect the connector to the air flow
sensor (unit inner view, see Figure 3-9).
Use tie-wraps to secure the fan wires.
10. Fix the fan assembly by tighten the
2 screws.
11. Close the service rear door.
12. Reinstall the plastic frontal cover.
13. Connect the unit to a power source and
place the power switch on.
14. Perform air flow calibration. Refer to
“Air Flow Calibration” in the Diagnostics and
Testing section.
15. Attach the outside high- (red) and low-side
(blue) service hoses. Tighten at 7.9 Nm
torque.
Nut
Nut
Connector
 Loading...