26
en
Fold out the picture pages.
Before using for the first time
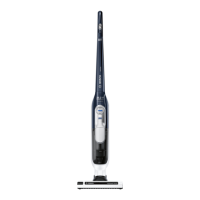
Figure
1
Raise the handle and lock into place
To fold the handle back down, press the unlocking
knob and release the handle catch.
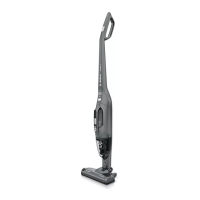
Figure
2
Plug the handstick vacuum cleaner into the floor tool
and lock into place.
To release the floor tool, press the unlocking knob
and pull the handstick vacuum cleaner out of the
tool.
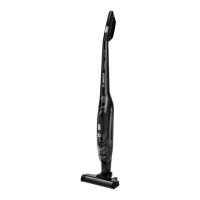
Figure
3
Insert the handheld vacuum cleaner into the hand-
stick vacuum cleaner as shown and lock into place.
!
Make sure that the contacts of the handheld vacu-
um cleaner and handstick vacuum cleaner are not
dirty. Clean the contacts if necessary.
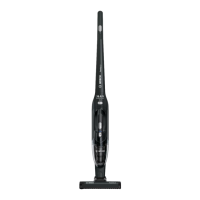
Figure
4
!
Before using the appliance for the first time, the
vacuum cleaner batteries must be charged for at
least 16 hours.
To charge the vacuum cleaner, place it close to a so-
cket. The appliance can be left standing anywhere in
the room. (see Fig. 6)
Plug the charging cable into the connection at the
rear of the appliance.
Plug the charger plug into the socket.
The charging indicator lights up.
The indicator remains lit for as long as the vacuum
cleaner is connected to the mains via the charger.
It does not go out even when the vacuum cleaner
batteries are fully charged.
It is normal for the charger and vacuum cleaner to
become hot and not a cause for concern.
You can charge the vacuum cleaner at any time when
it is not in use. In this way, it is always ready for use.
Vacuuming
Using the hand-held vacuum cleaner
Figure
5
For BBHMOVE1N, BBHMOVE2N, BBHMOVE3N mo-
dels:
Press the on/off switch in the direction of the arrow.
The function indicator on the floor tool lights up,
indicating that the brush roller is turning.
As of BBHMOVE4N model:
The on/off switch can be moved to the following two
positions:
Position 1 = medium power setting
>= The appliance has a longer run time.
Position 2 = high power setting
>= The appliance has more power for a shorter run
time.
Figure
6
During short pauses in vacuuming, the appliance can
be left standing upright anywhere in the room. To do
this, tilt the vacuum cleaner forwards slightly in the
direction of the nozzle.
!
Caution: When the appliance is left standing, it
must be switched off, because if the brush is
turning while the appliance is standing still, it could
cause damage to the floor covering.
!
Caution!
Floor tools are subject to a certain amount of wear,
depending on the type of hard floors you have (e.g.
rough, rustic tiles). Therefore, you must check the
underside of the floor tool at regular intervals. Worn
undersides of floor tools may have sharp edges that
can damage sensitive hard floors, such as parquet or
linoleum. The manufacturer does not accept any re-
sponsibility for damage caused by worn floor tools.
Using the handheld vacuum cleaner
Figure
7
Unlock the handheld vacuum cleaner by pressing the
unlocking knob and remove it from the handstick va-
cuum cleaner.
Crevice nozzle
Figure
8
For vacuuming crevices and corners, etc. Insert
the crevice nozzle into the air intake opening of the
handheld vacuum cleaner, as illustrated.
Figure
9
To charge the handheld vacuum cleaner, insert it
into the handstick vacuum cleaner and lock into
place. Make sure it is correctly seated.