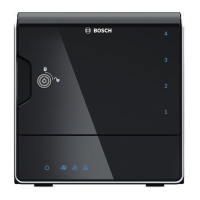
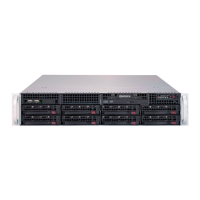
System setup - first steps
The following installation directive provides information on Installation and Configuration.
DIVAR IP systems are based on Windows Storage Server 2008 R2 operating system.
Introduction
DIVAR IP systems are shipped with a pre-installed Configuration Wizard from factory.
Intended use for Configuration Wizard is the quick and easy configuration of a smaller system.
Configuration Wizard helps you to achieve a configured system including VRM, iSCSI system,
cameras, recording profiles and user groups.
User groups and their permissions are configured automatically. You can add or remove users
and set passwords.
Configuration Wizard can access Management Server only on the local computer.
You can save an activated configuration for backup purposes and import this configuration
later. You can change this imported configuration after import.
You must add iSCSI systems manually.
Configuration Wizard adds the local VRM automatically.
Setup instruction
All DIVAR IP systems are preconfigured with a default IP address and with default iSCSI
settings.
– IP Address: 192.168.178.200
– Subnet mask: 255.0.0.0
– User: Administrator
– Password: WSS4Bosch
The default iSCSI settings are optimized for use with VRM.
Notice!
We strongly recommended not changing these settings. Changing these settings can result in
malfunctioning of the system.
Starting the application
DIVAR IP system is ready to go out of the box. The application provides a simple to install and
intuitive to use solution for network surveillance systems.
To start the application:
1. Connect the unit and the cameras to the network.
2. Turn on the unit.
The Microsoft and Bosch EULA (End-user license agreement) is displayed.
3. Accept the EULA, then click .
The logon screen for the Bosch VMS default user is displayed.
4. Enter the default password WSS4Bosch.
A message is displayed that you must change the password.
5. Change the password, then click .
6. Change the network settings according to your IP environment.
The Bosch VMS default screen is displayed.
7. Double-click the Bosch VMS Wizard icon to start the Configuration Wizard.
The Welcome page is displayed.
4
4.1
4.2
4.3
12 en | System setup - first steps DIVAR IP 3000
2013.05 | V1 | DOC Installation Manual Bosch Sicherheitssysteme GmbH
 Loading...