5
FCP-500 Series
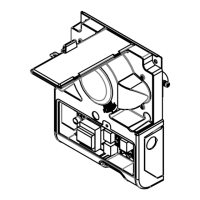
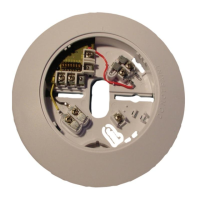
Mounting the Base (FCA-500 and FCA-500-E)
1. Insert the base in the back box so that it fits over the four screws.
2. Turn the base clockwise until it stops to lock it in place.
3. Repeat steps 1 and 2 if you install multiple detectors in a line.
4. Slightly turn each base until the mark on the base aligns with the
other detectors’ marks (see Fig. 8.).
5. Tighten the screws with the supplied wrench.
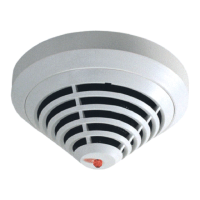
Inserting the Detector Head
1. Remove the protective film from the detector head.
2. Snap the trim ring into place on the base.
3. Place the detector head in the base and turn it until the detector head drops into the alignment grooves.
4. Push the center of the detector until it locks into place. It clicks and springs up.
Start-up
1. Check the wiring from the control panel to the last head on the run for proper polarity and continuity .
2. Make sure each run terminates with an EOL resistor as specified by the control panel manufacturer.
3. Apply power to the system. Check for alarm and troubles.
4. If single detectors alarmed or went in trouble, check if there is a free space of at least 19 in. (50 cm)
around these detectors. If the problem persists, replace these detectors or swap them with known good
units. If also the good units alarm or go in trouble, the sensitivity may have been affected by the
surrounding environment. Recheck if there are any obstructions around the detector which may reflect
the light emitted by the detector.
5. Activate the dry reed contact of each detector for 10 sec with a magnet until the detector alarms (see
Section 5., Dry Reed Contact and Section 6., Electronical Function Test ). Then reset the detector by
removing the power for at least 2 seconds. After the reset, the detector will calibrat e itself to the
surrounding en vironment.. Make sure that no objects or obstructions (like the test tool SOLO330 itself)
are in front of the detector during calibration for 15 sec.
Alignment mark
Fig. 8.
i
After installation each detector must be calibrated. If there are any obstruction in front of
the detector after the reset during its calibration (Electronic Function Test, Section 6.),
the sensitivity of the detector may be affected.
6. Perform the sensitivity test described in Section 7. at every detector .
Bosch Security Syst ems BDL-F01U000626 | A7 | 2007.07

 Loading...