20 | English
The regulations on the material being machined that apply in
the country of use must be observed.
u Avoid dust accumulation at the workplace. Dust can
easily ignite.
Dust extraction with GDE 16 Plus (accessory)
(seefigureJ)
For dust extraction, the GDE 16 Plus (accessory) is re-
quired.
The dust extractor must be suitable for the material being
worked on.
When extracting dry dust or dust that is especially detri-
mental to health or carcinogenic, use a special dust ex-
tractor.
Dust collection cap (accessory) (seefigureK)
To collect dust easily without using extraction, a dust collec-
tion cap(25) is required.
Dust Extraction with GDE 18V-26 D (accessory)
For dust extraction, the GDE 18V-26 D dust extraction at-
tachment (accessory) is required.
Observe the information on intended use in the relevant op-
erating manual when using the GDE 18V-26 D.
Operation
u Products that are only sold in AUS and NZ: Use a resid-
ual current device (RCD) with a nominal residual current
of 30 mA or less.
Start-up
u Pay attention to the mains voltage. The voltage of the
power source must match the voltage specified on the
rating plate of the power tool. Power tools marked
with 230V can also be operated with 220V.
Setting the Operating Mode
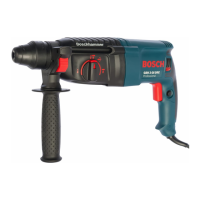
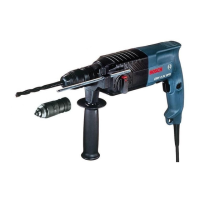
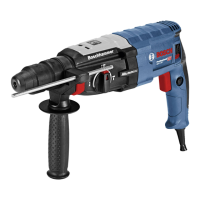
GBH2-26RE:
Use the "drilling/hammer drilling" selector switch(16) to se-
lect the power tool's operating mode.
– To change the operating mode, press the release
button(15) and turn the "drilling/hammer drilling" se-
lector switch(16) until it clicks into the required position.
Note: Only change the operating mode when the power tool
is switched off. Otherwise, the power tool may become dam-
aged.
Position for hammer drilling into concrete
or stone
Position for drilling without impact in wood,
metal, ceramic and plastic and for screw-
driving
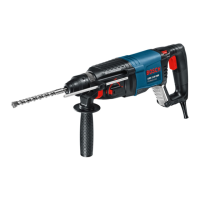
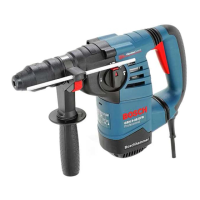
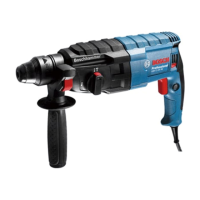
GBH2-26DRE, GBH2-26DFR:
The operating mode of the power tool is selected using the
impact/mode selector switch(11).
– To change the operating mode, press the release
button(10) and turn the impact/mode selector
switch(11) until it clicks into the required position.
Note: Only change the operating mode when the power tool
is switched off. Otherwise, the power tool may become dam-
aged.
Position for hammer drilling into concrete or
stone
Position for drilling without impact in wood,
metal, ceramic and plastic and for screwdriv-
ing
Vario-Lock position for adjusting the chisel po-
sition
The impact/mode selector switch(11) will not
engage in this position.
Position for chiselling
Setting the Rotational Direction
The rotational direction switch (7) is used to change the ro-
tational direction of the power tool. However, this is not pos-
sible while the on/off switch (9) is being pressed.
u Only operate the rotational direction switch(7) when
the power tool is not in use.
Always set the rotational direction to clockwise rotation for
hammer drilling, drilling and chiselling.
– Rotate clockwise: Turn the rotational direction
switch(7) on both sides until it stops in the position.
– Rotate anticlockwise: Turn the rotational direction
switch(7) on both sides until it stops in the position.
Switching On/Off
– To switch on the power tool, press the on/off switch (9).
– To lock the on/off switch (9), press and hold it while also
pushing the lock-on button (8).
– To switch off the power tool, release the on/off switch
(9). If the on/off switch (9) is locked, press the switch
first and then release it.
Adjusting the Speed/Impact Rate
You can adjust the speed/impact rate of the power tool when
it is on by pressing in the on/off switch(9) to varying ex-
tents.
Applying light pressure to the on/off switch(9) results in a
low rotational speed/impact rate. Applying increasing pres-
sure to the switch increases the speed/impact rate.
Changing the chiselling position (Vario-Lock)
You can lock the chisel in 36 different positions, so you can
select the optimum working position for each task.
– Insert the chisel into the tool holder.
1 609 92A 625 | (11.01.2022) Bosch Power Tools
 Loading...