EURO • Printed in Germany • BA 1 619 929 461 • GBH 4-top • GB • OSW 11/00
English - 2
1 619 929 461 • TMS • 30.10.00
■ Before any work on the machine itself, pull
the mains plug.
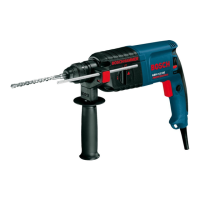
With the SDS-top tool holder, simpler and easier
tool changing is possible without additional aids.
☞
Grease the insertion end of the tool reg-
ularly.
The dust protection cap 1 prevents to a large ex-
tent the entry of drilling dust during operation.
When inserting the tool, take care that the dust
protection cap 1 is not damaged.
A damaged dust protection cap should be
changed immediately. We recommend having
this carried out by an after-sales service.
☞
It is a requirement of the system that the
SDS-Top tool rotates freely, thereby pro-
ducing a radial eccentricity when the ma-
chine is running at no-load speed.
This does not affect the accuracy of the drill
hole, as the bit is automatically centred dur-
ing drilling.
Inserting
Clean and grease the insertion end of the tool.
Insert the tool in a twisting manner into the tool
holder until it latches itself. Check the latching by
pulling on the tool.
Removing
Push back the locking sleeve 2 of the tool holder
and remove the tool.
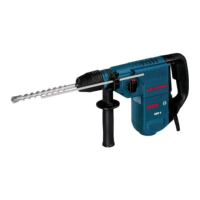
■ Use the machine only with the auxiliary
handle 6.
Loosen the handle by turning to the left. Rotate
the auxiliary handle 6 and adapt to the working
position.
Firmly retighten the handle.
The drilling depth can be set with the depth
stop 7.
The ribbing on depth stop 7 must point upwards.
Be careful of hidden electrical
lines or gas and water pipes.
Check the working area, e. g.
with a metal detector.
Check for correct mains voltage: The voltage
of the power source must agree with the voltage
specified on the nameplate of the machine.
Equipment marked with 230 V can also be con-
nected to 220 V.
Switching On and Off
Switching on: Press the On/Off switch 3 and
hold depressed.
Switching off: Release the On/Off switch 3.
☞
For low temperatures, the machine
reaches the full hammer/impact perform-
ance only after a certain time.
This start-up time can be shortened by
striking the drill/chisel against the floor one
time.
With the on/off switch 3, the rotational speed/im-
pact rate can be regulated between low and high
speed/rate. Light pressure on the on/off switch 3
results in a low rotational speed/impact rate, for
example, for sensitive work such as hole starting.
With increased pressure, the rotational speed/im-
pact rate is increased.
Changing the Tool
Auxiliary Handle/Depth Stop
A
B
Initial Operation
Changing the Speed/
Impact Rate
1 619 929 461 - D.book Seite 2 Mittwoch, 8. November 2000 3:18 15
 Loading...