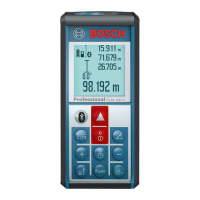
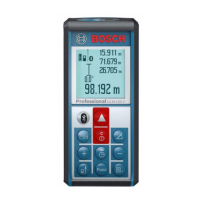
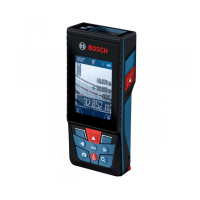
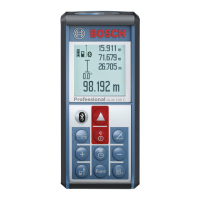
Press the button (4) [+]. The calculated area
and the + symbol will be displayed. Press the
measuring button (2) [ ] to start another area
measurement. Measure the area as described
in the section on area measurement (see "Area
measurement", page15). Once the second
measurement is completed, the result of the second area
measurement is displayed below. To show the end result,
press the measuring button (2) [ ] once more.
Note: In the case of a length measurement, the end result is
displayed immediately.
Subtracting values
To subtract values, press the button (11) [–]. The sub-
sequent steps are the same as for the section on adding val-
ues.
Deleting measured values
Briefly pressing the on/off/delete button (9) [ ] will delete
the last measured value in all measuring functions.
Bluetooth®
interface
Transmitting data to other devices
The measuring tool is fitted with a Bluetooth® module which
enables wireless data transfer to certain mobile devices with
a Bluetooth® interface (e.g. smartphone, tablet).
Information about the system requirements for a Bluetooth®
connection can be found on the Bosch website at
www.bosch‑pt.com
u Further information can be found on the Bosch
product page.
When transmitting data by means of Bluetooth®, time lags
may occur between the mobile device and the measuring
tool. This can be due to the distance between the two
devices or the measurement object itself.
Activating the
Bluetooth®
interface for transmitting
data to a mobile device
The Bluetooth® interface is activated in the settings. To activ-
ate the Bluetooth® signal, press the button (4) [+]. Ensure
that the Bluetooth® interface is activated on your mobile
device.
The Bosch Measuring Master app is specially designed to ex-
tend the range of functions of the mobile device and make
data easier to process. This can be downloaded from the re-
spective store of the device.
The connection between the mobile device and the measur-
ing tool is established after the Bosch application has star-
ted. If multiple active measuring tools are found, select the
appropriate measuring tool using the serial number. You can
find the serial number (15) on your measuring tool's type
plate.
The connection status, as well as the active connection (f),
are shown in the display (1) of the measuring tool.
Deactivating the
Bluetooth®
interface
The Bluetooth® connection is deactivated in the settings. To
deactivate the Bluetooth® signal, press the button (11) [–]
or switch off the measuring tool.
Practical advice
u Further information can be found on the Bosch
product page.
u The measuring tool is equipped with a wireless inter-
face. Local operating restrictions, e.g. in aeroplanes
or hospitals, must be observed.
General advice
The reception lens (18), the laser beam output (19) and the
camera (20) must not be covered during measurement.
The measuring tool must not be moved while a measurement
is being taken. For this reason, place the measuring tool
against or on a firm surface whenever possible.
Influences on the measuring range
The measuring range depends on the lighting conditions and
the reflective properties of the target surface. For better vis-
ibility of the laser beam in strong extraneous light, use the in-
tegrated camera (20), the laser viewing glasses (26) (ac-
cessory) and the laser target plate (25) (accessory) or
shade the target area.
Influences on the measurement result
Due to physical effects, the possibility of inaccurate meas-
urements when measuring various surfaces cannot be ex-
cluded. These include:
– Transparent surfaces (e.g. glass, water)
– Reflective surfaces (e.g. polished metal, glass)
– Porous surfaces (e.g. insulating materials)
– Structured surfaces (e.g. roughcast, natural stone).
If necessary, use the laser target plate (25) (accessory) on
these surfaces.
Inaccurate measurements are also possible where the laser
is pointed at target surfaces diagonally.
Layers of air at different temperatures and indirectly re-
ceived reflections can also influence the measured value.
Checking accuracy and calibrating the grade
measurement (see figureH)
Regularly check the accuracy of the grade measurement.
This is accomplished by means of a reverse measurement.
To do this, lay the measuring tool on a table and measure the
inclination. Turn the measuring tool by 180° and measure
the inclination again. The difference between the displayed
values must not exceed 0.3°.
In case of greater deviation, the measuring tool must be re-
calibrated. To do so, select in the settings. Follow the
directions on the display.
We recommend that you perform an accuracy check and if
necessary a calibration of the measuring tool after extreme
Bosch Power Tools 1 609 92A 4XP | (11.01.2019)
 Loading...


