Do you have a question about the Bosch GOF 900 CE Professional and is the answer not in the manual?
| Power Input | 900 W |
|---|---|
| Weight | 3.5 kg |
| Soft Start | Yes |
| Electronic Speed Control | Yes |
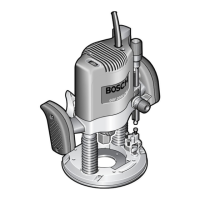
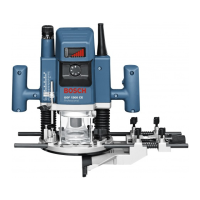
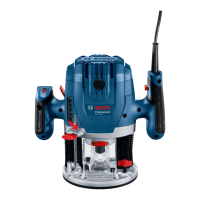
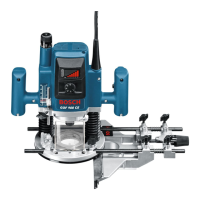
| Type | Router |
| Power Consumption | 900 W |
| Collet Size | 8 mm |
Read all safety warnings and instructions. Failure to follow may result in electric shock, fire or serious injury.
Hold power tool by insulated gripping surfaces, because the cutter may contact its own cord.
Read all safety warnings and all instructions. Failure to follow may result in electric shock, fire and/or serious injury.
Measured sound values and vibration total values determined according to EN 60745. Wear hearing protection.
Before working on the machine, unplug it. Recommended to wear protective gloves.
Instructions for inserting or replacing router bits. Recommended to wear protective gloves.
How to connect the extraction hose 26 to the mounted extraction adapter and a vacuum cleaner.
Information on dust hazards and using dust extraction systems. Ensure good ventilation.
Mount the extraction adapter 27 with hose connection to the front or rear. Adjust for clearance with guide bushing adapter.
Steps for coarse depth adjustment: place machine on workpiece, set fine adjustment to center, set scale to '0'.
Set step buffer 10 to lowest position; it should engage noticeably.
Loosen wing bolt 14 for depth stop 15 so it can be moved freely.
Read all instructions and warnings. Failure to follow may result in electric shock, fire or serious injury.
Power tool plugs must match outlet. Avoid body contact with earthed surfaces. Protect from rain or wet conditions.
Stay alert, watch what you are doing. Use personal protective equipment. Prevent unintentional starting. Do not overreach.
Hold power tool by insulated gripping surfaces, because the cutter may contact its own cord.
The tool is intended for routing grooves, edges, profiles and elongated holes in wood, plastic and light building materials.
Technical data for the router, including article number, power, speed, and weight.
Noise and vibration values determined according to EN 60745. Wear hearing protection.
Instructions for putting the tool together and preparing it for use.
Information on dust hazards and using dust extraction systems. Ensure good ventilation.
Observe correct mains voltage! Power tools marked 230 V can also be operated with 220 V.
Required speed can be preselected with thumbwheel 3 (even while running).
The speed of rotation can be changed using the speed preselection potentiometer 3 (even during operation).
Adjust depth-of-cut before switching on/off. Press and hold the On/Off switch 24 to start.
Adjust depth-of-cut before switching on or off, as described in the relevant section.
To start the machine, press and hold the On/Off switch 24.
To switch off, release the On/Off switch 24 or briefly press and release it if locked.
Depth-of-cut adjustment must only be carried out when the router is switched off.
Steps for coarse depth adjustment: place machine on workpiece, set fine adjustment to center, set scale to '0'.
Push release lever 22 down and lower plunge router until router bit 7 touches workpiece surface.
Push depth stop 15 down onto step buffer 10. Set slide 16 to 'O' on depth adjustment scale 18.
Set depth stop 15 to required depth-of-cut and tighten wing bolt 14.
Set depth stop 15 to required depth-of-cut and tighten wing bolt 14.
After trial cut, set depth-of-cut exactly using adjustment knob 20. Clockwise increases depth, counter-clockwise decreases it.
Routing process must be carried out against the router bit's rotation direction (up-cutting).