English - 4
Setting the Torque
Carry out a practical test to determine with which
of the 15 settings of the torque setting ring 3 the
screws are driven flush into the material.
Low setting, e. g., small screws, soft
materials.
High setting, e. g., large screws, hard
materials.
With the correct setting, the clutch disengages as
soon as the screw is driven flush into the material
or the set torque is reached. Select a higher set-
ting when driving out screws, or set to the “Drill-
ing” symbol.
Drilling and Impact Drilling
Drilling
Set the torque setting ring 3 to the “Drill-
ing” symbol.
Hammer Drilling (GSB 18 VE-2/GSB 24 VE-2)
Set the torque setting ring 3 to the
“Hammer Drilling” symbol.
■ Before any work on the machine itself, re-
move the battery.
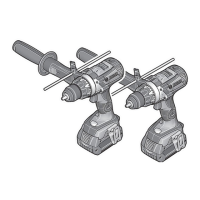
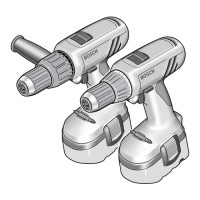
To change the chuck, place the setting ring 3 in
the position.
The locking screw secures the drill chuck against
loosening from the drill spindle. Fully open the
chuck and completely unscrew the locking screw
(Note: left-handed thread!).
The drill chuck is mounted in reverse order.
Soft grip
The gripping surface 11 on the rear of the handle
(soft grip) reduces the danger of slipping and
thereby improves the grip on the machine and the
handling.
At the same time, the rubber coating achieves a
vibration-reducing effect.
■ Use only screwdriver bits that fit properly in the
head of the screw.
■ When driving in larger and/or longer screws in
hard material, it is advisable to drill a pilot hole
first.
■ For drilling in metal, use only perfectly sharp-
ened HSS drills. The appropriate quality is
guaranteed by the Bosch accessories pro-
gram.
Drilling Tiles
When drilling through tiles, set the torque setting
ring 3 to the “Drilling” symbol. After drilling
through the tile, switch back to the “Hammer Drill-
ing” symbol and continue working in hammer
mode.
■ Before any work on the machine itself, re-
move the battery.
☞
For safe and proper working, always keep
the machine and the ventilation slots clean.
If the machine should fail despite the care taken
in manufacturing and testing procedures, repair
should be carried out by an after-sales service
centre for Bosch power tools.
In all correspondence and spare parts orders,
please always include the 10-digit order number
given on the nameplate of the machine.
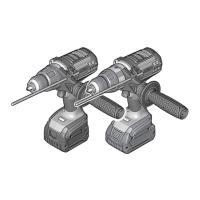
Replacing the Drill Chuck
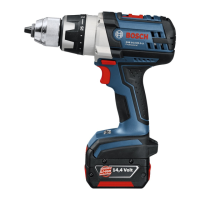
Operating Instructions
1
15
Tips
Maintenance and Cleaning
12 • 2 609 932 048 • TMS • 16.01.03
 Loading...