6
2 609 931 938 • TMS • 24.11.99
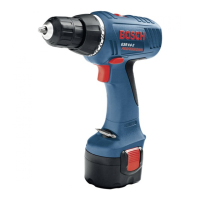
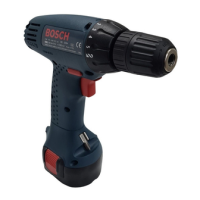
Inserting the Battery
Set the rotational direction switch
4
to the middle
position (locked off). Slide the charged battery
6
into the handle until you feel it has latched.
Switching On and Off
To switch on:
Press the on/off switch
3
.
To switch off:
Release the on/off switch
3
.
Infinitely Variable Speed Control
The machine runs with variable
speed between 0 and maximum de-
pending on the pressure applied to
the on/off switch
3
.
Light pressure results in a low rotational speed
thus allowing smooth, controlled starts.
Do not load the machine so heavily that it comes
to a standstill.
Changing the Rotational Direction
Operate the rotational direction switch 4
only at a standstill.
With the rotational direction switch
4
, the rota-
tional direction of the machine can be switched
(when the on/off switch
3
is operated, the rota-
tional direction switch
4
is locked).
Right Rotation
Press the rotational direction switch to the left as
far as it will go (normal operation: drilling, screw-
driving, etc.). The direction of rotation is indicated
by a stamped
“R”
.
Left Rotation
Press the rotational direction switch to the right as
far as it will go (loosening and unscrewing of
screws and nuts).
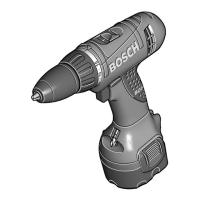
Setting the Torque
Screwdriving
5 different settings can be selected with the
torque setting ring
1
:
Low setting, e. g., small screws, soft ma-
terials.
High setting, e. g., large screws, hard
materials.
When the setting is correct, the overload clutch
opens as soon as the screw has been screwed in
flush into the material or as soon as the set torque
has been reached. For unscrewing, select a
higher setting or set to the drill symbol. The proper
setting is best determined with practical trials.
Drilling
Set the torque setting ring
1
to the drill
symbol.
Run-On Brake
When the on/off switch
3
is released, the drill
chuck brakes to a stop, thus preventing the run-
on of the tool.
For screwdriving work, wait until the screw is
screwed in flush with the material and then re-
lease the on/off switch
3
. By doing so, the head of
the screw does not penetrate into the material.
Carrying strap (Optional extra)
The carrying strap
10
allows the wrist to carry the
machine comfortably and also protects the ma-
chine from being accidentally dropped.
With the help of the spring hook, attach the carry-
ing strap to the holding pin.
The carrying strap can be adjusted to the size of
the wrist with the adjusting slide
11
.
Magazine for Drills/Screwdriver Bits
(Optional Extra)
The tool magazine serves for the secure and eas-
ily accessible storage of the most commonly used
drills
7
and screwdriver bits
8
.
Removing the magazine:
Pull the magazine downward with a light tug.
Attaching the magazine:
Press on the magazine with light pressure until
you feel it has latched.
Initial Operation
a
b
b
a
Operating Instructions
1
5
 Loading...