English | 7
Technical Data
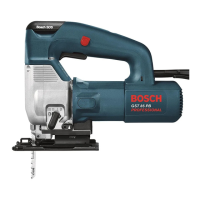
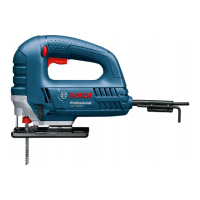
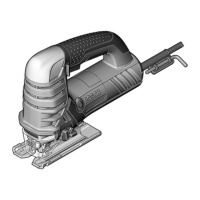
Jigsaw GST 25 M
Article number
3 601 E16 ...
Stroke rate control ●
Constant electronic control ●
Rated power input W 670
No-load stroke rate n
0
min
−1
500–2600
Stroke mm 24
Max. cutting depth
– In wood mm 80
– In aluminium mm 25
– In steel (unalloyed) mm 15
Weight according to
EPTA-Procedure 01:2014
kg 2.7
Protection class
/II
The specifications apply to a rated voltage [U] of 230 V. These spe-
cifications may vary at different voltages and in country-specific mod-
els.
Assembly
u Pull the plug out of the socket before carrying out any
work on the power tool.
Inserting/changing the saw blade
u When fitting or changing the saw blade, wear protect-
ive gloves. Blades are sharp and can become hot when
used for prolonged periods of time.
Selecting the saw blade
You will find an overview of recommended saw blades at the
end of these operating instructions. Only use saw blades
with single lug shank (T shank). The saw blade should not be
longer than required for the intended cut.
Use a narrow saw blade when sawing tight curves.
Inserting/removing the saw blade (seefigureA)
u Clean the shaft on the saw blade before inserting it.
Adirty shaft cannot be securely fixed in place.
➊
Pull the SDS twist cap(1) up.
➋
To unlock, turn the SDS twist cap(1) approximately
3turns anticlockwise.
➌
Insert the saw blade(10) into the saw blade recept-
acle(8) perpendicular to the cutting direction.
➍
Turn the saw blade(10) so that the teeth point in the
cutting direction. Make sure that the back of the saw
blade is in the groove on the guide roller(9).
➎
Turn the SDS twist cap(1) clockwise until it clicks.
➏
Turn the SDS twist cap(1) further clockwise until it
reaches its initial position. Slide the SDS twist cap
down to lock it in place.
u Check that the saw blade is seated securely. A loose
saw blade can fall out and lead to injuries.
To remove the saw blade, follow the steps above in reverse.
Anti-splinter guard (seefigureB)
The anti-splinter guard (15) (accessory) can prevent splin-
tering of the surface while sawing wood. The anti-splinter
guard can only be used with certain saw blade types.
Push the anti-splinter guard (15) into the base plate (5)
from below.
Dust/Chip Extraction
Dust from materials such as lead-containing coatings, some
wood types, minerals and metal can be harmful to one’s
health. Touching or breathing-in the dust can cause allergic
reactions and/or lead to respiratory infections of the user or
bystanders.
Certain dust, such as oak or beech dust, is considered carci-
nogenic, especially in connection with wood-treatment ad-
ditives (chromate, wood preservative). Materials containing
asbestos may only be worked by specialists.
– Provide for good ventilation of the working place.
– It is recommended to wear a P2 filter-class respirator.
Observe the relevant regulations in your country for the ma-
terials to be worked.
u Avoid dust accumulation at the workplace. Dust can
easily ignite.
Hood (seefigureC)
Danger of injury from sharp-edged and hot metal chips/shav-
ings. When working with metal or aluminium, you must
therefore attach the hood (11).
Attach the hood(11) to the power tool so that the bracket
locks into place on the shock protection guard(13).
Remove the hood(11) to work with wood. To do this, pull
the hood forwards off the shock protection guard(13).
Operation
u Products that are only sold in AUS and NZ: Use a resid-
ual current device (RCD) with a nominal residual current
of 30 mA or less.
Operating modes
u Pull the plug out of the socket before carrying out any
work on the power tool.
Orbital action
The orbital action allows for optimal adaptation of cutting
speed, cutting capacity and cutting pattern to the material
being machined.
Switch on the orbital action, e.g. for sawing soft materials
and for sawing wood in the direction of the grain. Do this by
sliding the adjusting lever (7) to the "I" position. This can
also be done during operation.
Switch off the orbital action for fine and clean cut edges
when machining thin materials (e.g. sheets). Do this by slid-
ing the adjusting lever (7) to the "0" position.
Bosch Power Tools 1 609 92A 52B | (19.06.2019)
 Loading...