English - 2
Euro • Printed in USA • BA 2 610 998 773 • Rotocut • GB • OSW 08/00
2 610 998 773 • TMS • 10.08.00
■ Apply the machine to the workpiece only when
switched on.
■ Always switch off the machine and allow to
come to a stop before placing it down.
■ Bosch is only able to ensure perfect functioning
of the machine if the original accessories in-
tended for it are used.
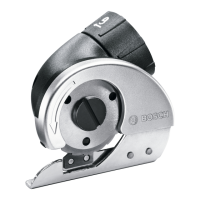
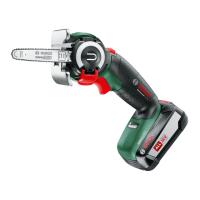
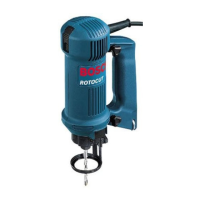
The unit is designed to cut gypsum, wood, plex-
iglass, plastics and soft wall tiles.
■ Before any work on the machine itself, pull
the mains plug.
Press the spindle lock button 3 and turn the
union nut 4 until the spindle lock button notches.
Unscrew the union nut 4 using the open-end
spanner (SW 16) 2.
Insert the corresponding collet chuck 5 in the un-
ion nut 4, mount the union nut 4 and screw it on
tightly by hand through approx. 5 turns.
Push in the cutting tool, leaving 3 mm of the
tool shaft still visible.
Press the spindle lock button 3 and tighten the
union nut 4 firmly using the open-end spanner
(SW 16) 2.
■ The shaft diameter of the cutting tool must
agree with the stipulated diameter of the tool
carrier.
■ The cutting tools used must be approved for
the highest speed for this machine type.
☞
Only change or adjust the base plate 7
once the cutting tool has been removed.
Dismounting:
Turn the base plate 7 anti-clockwise I until it is
felt to stop, and pull off.
Mounting:
Push the base plate 7 with the hollow 12 over
the metal projection 13 and turn anti-clockwise II
until the base plate 7 with the projection is clearly
heard to notch in the hollow. Do not turn beyond
this projection.
Adjusting the Cutting Depth:
Loosen the knurled screw 6. Adjust the base
plate 7 such that the cutting tool projects at least
6 mm from the material to be cut.
Tighten the knurled screw 6 firmly.
Check for correct mains voltage: The voltage
of the power source must agree with the voltage
specified on the nameplate of the machine.
Equipment marked with 230 V can also be con-
nected to 220 V.
Machines marked 100 V can also be connected
to 115 V.
Switching on: Push out On/Off switch 9.
Switching off: Push the On/Off switch 9 to the
OFF position.
Intended Use
Changing the Tool
A
B
Dismounting/Mounting/Setting
the Adjustable Base Plate
Initial Operation
C
C
D
Rotocut - Buch Seite 2 Dienstag, 15. August 2000 10:23 10