33
FUNCTIONAL TEST PROCEDURES
Input Test (continued)
4.6 Connect the A/D converter Coax output to
the unit’s Coax input.
4.7 Listen for clean, undistorted audio from the
unit.
4.8 Apply a 200 Hz, 25 mVrms signal to the
left and right input of the A/D converter.
4.9 Connect the A/D converter Optical output
to the unit’s Optical input.
4.10 Listen for clean, undistorted audio from
the unit.
5. Auto Select
This is only needed if the input test is performed
with all inputs connected.
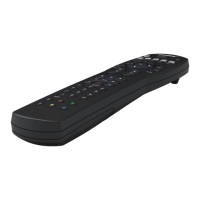
5.1 Press the remote ON button.
5.2 Issue the TAP command “VO 100, 50” to
set the volume to maximum level and bass in
50.
5.3 Apply a 70 Hz, 50 mVrms signal to the left
and right analog input.
5.4 Issue TAP command “as 3” to select the
Analog input/AUX input.
5.5 Apply a 70 Hz, 50 mVrms signal to the left
and right input of the A/D converter.
5.6 Connect the A/D converter Coax output to
the unit’s Coax input.
5.7 Issue TAP command “as, 2” to select the
Coax input.
5.8 Connect the A/D converter Optical output
to the unit’s Optical input.
5.9 Issue TAP command “as, 1” to select the
Optical input.
5.10 Perform step 6 for bluetooth setup.
5.11 Issue TAP command “as, 0” to select the
Bluetooth input.
6. Bluetooth
®
Test
For this test, use a Cell phone with A2DP Blue-
tooth, such as an iPhone
®
(Advanced Audio
Distribution Profi le) Pair Bose
®
Solo
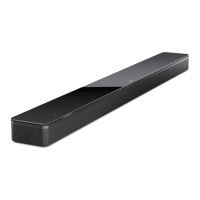
5 TV sound
system device.
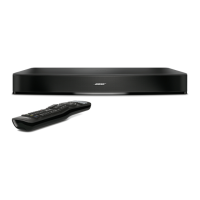
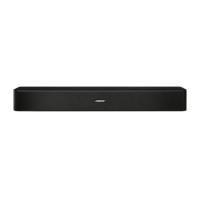
6.1 Plug in the power to the unit and turn on
the Bose
Solo
5 TV sound system
6.2 Press the Bluetooth button on remote until
the LED blinks white to make the unit discov-
erable.
6.3 From the Bluetooth device list, select the
device named “Bose
Solo 5 system”. Once
paired, the LED on the unit should turn a solid
white.
Note: LED with blink blue during the pairing
process.
Note: If you are prompted for a pass code,
enter 0000.
6.4 Play a familiar audio track from the Blue-
tooth device.
6.5 Listen for a clean undistorted sound with
no audio drop outs.
 Loading...
