Do you have a question about the Broil King BARON 440 Series and is the answer not in the manual?
Lists all hardware components provided for assembly.
Specifies the necessary tools for assembling the grill.
Attaching casters to the grill base for mobility.
Securing a bracket to the lower grill base structure.
Connecting the side panels to form the grill body.
Securing the lower frame components of the grill.
Attaching a side support structure to the grill body.
Installing crossbars for structural integrity.
Installing an internal heat shield or panel.
Connecting the main grill body to the assembled base.
Securing the main grill body with fasteners.
Attaching front panel components with screws.
Final positioning of the main grill unit onto the base.
Installing the handles onto the grill doors.
Installing the grill doors onto the main body.
Securing the gas tank chain with a fastener.
Attaching side panels or shelves to the grill.
Connecting side panels using hinge mechanisms.
Securing additional side panels or supports.
Connecting the ignitor wires to the grill.
Installing heat diffusers or baffles inside the grill.
Attaching the grill lid assembly.
Installing the primary cooking grates into the grill.
Attaching the side shelves to the grill unit.
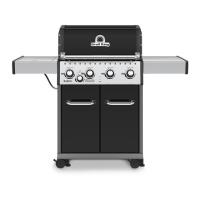
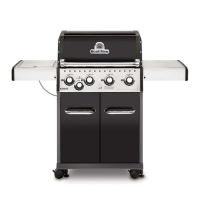
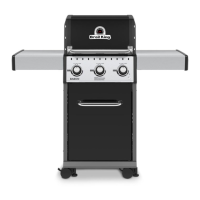
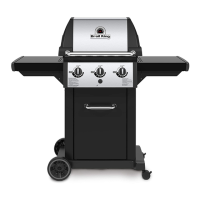
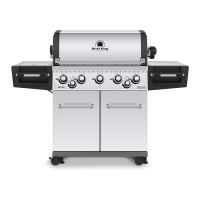
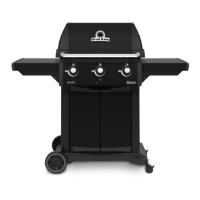
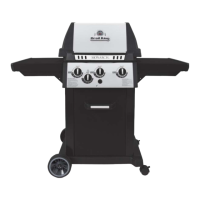
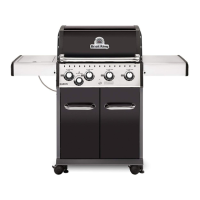
Visual confirmation of the fully assembled grill.
Connecting the gas supply and preparing for first use.
| Main Burner Output | 40, 000 BTU |
|---|---|
| Side Burner Output | 10, 000 BTU |
| Grate Material | Cast Iron |
| Number of Burners | 4 |
| Rotisserie Burner | No |
| Burner Material | Stainless Steel |
| Fuel Type | Propane |
| Dimensions | 24 in. |
| Ignition System | Electronic Ignition |