21
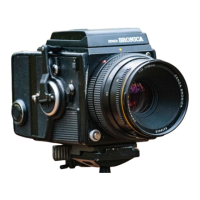
b. Cover the lens and take one blank exposure, as follows: First, return
the mirror lock-up switch lever to N setting. Then, use the multiple
exposure lever and expose the frame. Finally, after exposing the
frame, reverse the multiple exposure lever. (See 22. Multiple
Exposures.)
c. Utilize film back interchangeability and expose the frame after
removing the film back from the main body. Then, continue shooting,
according to "b" preceding. (See 3. Attachment and Removal of Film
Back.)
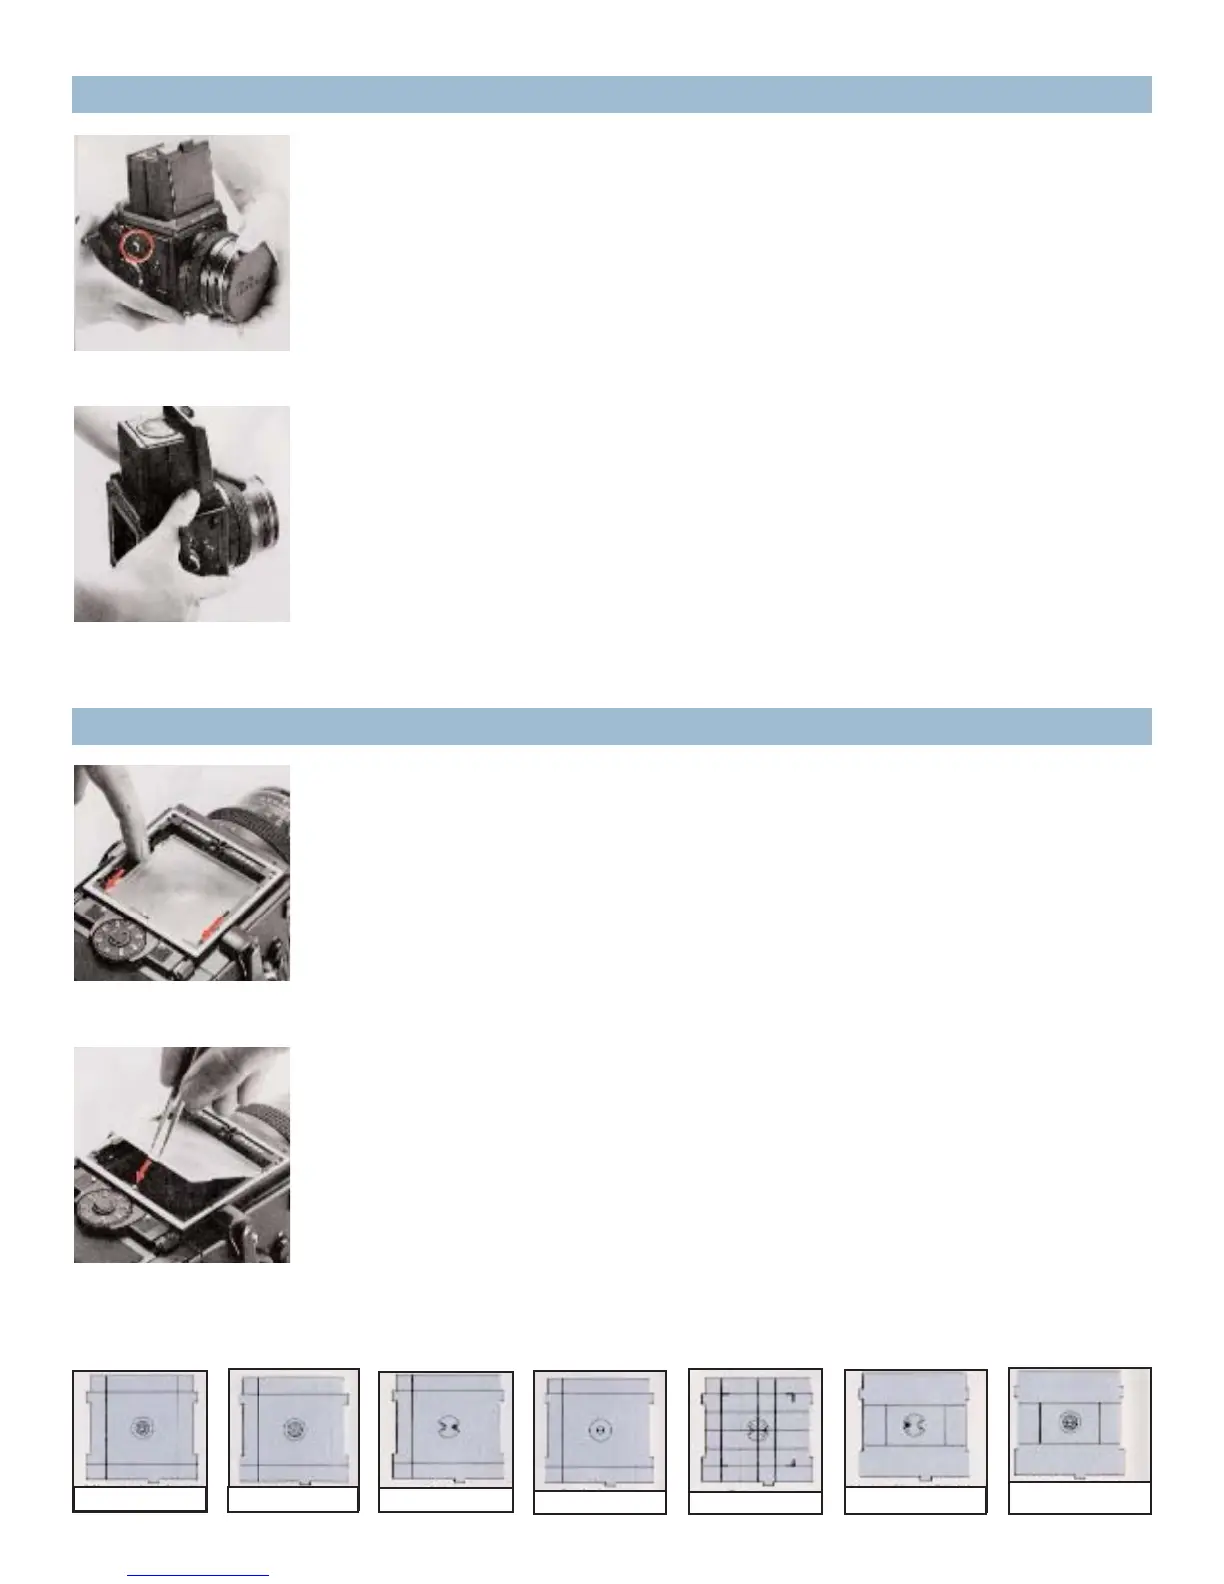
B. To install the focusing screen, nest the protrusion at the rear end of
the screen in the corresponding groove on the main camera body.
Then, slide both screen removal levers forward to secure the focusing
screen.
* Seven types of focusing screens are available for the Zenza Bronica
SQ-A.
A. The focusing screen can be exchanged, depending on the type of
photographic work being undertaken. First, remove the finder
attached to the main camera body. Then, move the screen removal
levers on both sides in the arrow-indicated directions, as illustrated.
Then, using a pincer or similar tool, lift up the screen with the protru-
sion at the rear end.
23. Mirror Lock-Up (con’t)
24. Interchanging Focusing Screens
Microprism / split-image
Microprism
Matte
Split-image
Grid-lines
Matte (for 135 film)
Microprism / split-image
(for 135 film)
 Loading...