III-8
3.4 Test Print
After completing the installation work, perform a test print. The test print should be done
in the Video Controller Mode and checked for correct print output. If there appear to be
any print problems then the test print in the Engine Controller Mode should be used if
necessary.
Note: The test print pattern differs between these two modes.
3.4.1 Test Print
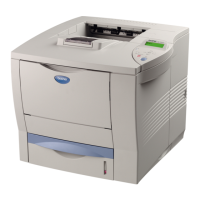
1) Before connecting a power cable to the
printer, ensure that the power button
located on the front of the printer
projects from the cover surface.
This means that the printer is in the
power-off status.
2) Connect the connector of the power
cable to the printer.
3) Insert the plug of the power cable into
the power outlet.
4) Press the power button, and confirm
that the SELF TEST LCD panel screen
is displayed during printer initialization.
The printer checks the RAM size and
then goes into warming-up mode.
04 SELF TEST
RAM SIZE = 16 M
5) The Ready LED lights within 210
seconds maximum, before which the
screen shown on the right appears on
the control panel display.
LJ WAIT 001P T1
AUTO
6) Press the Select button to set the printer off-line.
7) Hold down the Shift button and press the Test button so that the printer enters the test
mode.
8) The printer has built-in print patterns for test printing. The display shows the first test
mode item.
9) Press the ▲ or ▼ button until the desired test mode appears on the display, then
press the SET button to print the desired test page.
Power Button

 Loading...