10
•For a Custom installation
Selecting “Custom”, then clicking the Next
button displays a dialog box that allows you
to select which options to install. Only the
options with a check mark beside them will
be installed. In addition to the basic options
listed for a Typical installation, the User’s
Guide can also be installed.
1) Select which options to install.
Editor: P-touch Editor 3.2 software
Clip Art: Illustrations for the P-touch Editor 3.2 Clip Art function
Fonts
Auto Format Templates: Templates for the Auto Format function
Help: Help files for P-touch Editor 3.2
User’s Guide: HTML User’s Guide for the P-touch Editor 3.2 (The User’s Guide can
also be viewed from the CD-ROM.)
If the Change button can be clicked while an option is selected, sub-components can be
selected. Click the Change button to display the Select Sub-components dialog box, and then
select the sub-components that you wish to install by putting a check mark beside them. If cer-
tain options or sub-components are not installed, some P-touch Editor functions may not be
available. After selecting the desired sub-components, click the Continue button.
2) Click the Next button to begin installation.
8 After P-touch Editor is installed, a dialog box
appears, allowing you to select whether or
not to install the printer driver.
To install the printer driver, click the Yes but-
ton. The first Driver Setup dialog box
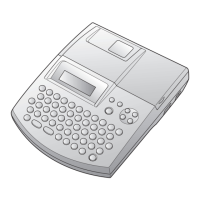
appears, informing you that the PT-2600/
2610 printer driver will be installed.
Continue with the procedure in INSTALLING
THE PRINTER DRIVER on page 13.
 Loading...